Cheesy Broccoli and Brown Rice Casserole

Are you searching for ways to get your kids (or yourself) to eat more broccoli? Well, look no farther than this healthier alternative to the normally- cream- of -mushroom ladened cheesy, broccoli casserole.  This technique to make “cream of mushroom” soup can be used as a substitute for any recipe that uses canned soup for a sauce.

Ingredients

1 Cup uncooked Brown Rice (or about 3 cups COOKED rice)

16 ounces Broccoli, trimmed weight, fresh or frozen

3 Tablespoons Butter, additional 1 or 2 T. may be needed

1 Onion, chopped

8 ounces Mushrooms

4 cloves Garlic, finely chopped

2 Tablespoons Flour

2 Cups Milk, whole

1 teaspoon Paprika

1 Tablespoon Worcestershire

Dash Hot Sauce (optional)

2 Cups Cheddar Cheese, freshly shredded

Salt and Pepper

Directions:

1. Combine 1 cup (uncooked) brown rice and 2 cups water in a saucepan, bring to a boil and simmer covered for about 40 minutes. You may have more rice than needed for the casserole (see instruction 7.)

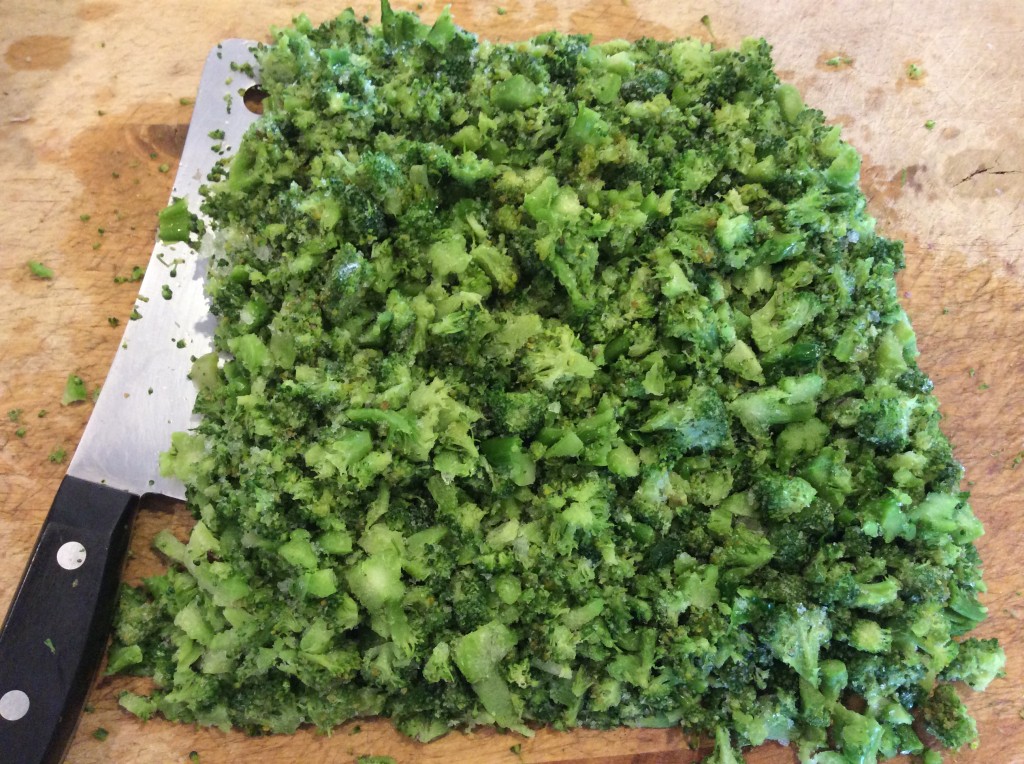
2. Meanwhile, if using fresh broccoli; cut into large pieces, cook in boiling salted water for 3 minutes, drain well, then finely chop. Set aside.

If using frozen broccoli; partially thaw, then finely chop. Set aside.Broccoli, chopped, CSA Kansas City

3.Preheat the oven to 375F.

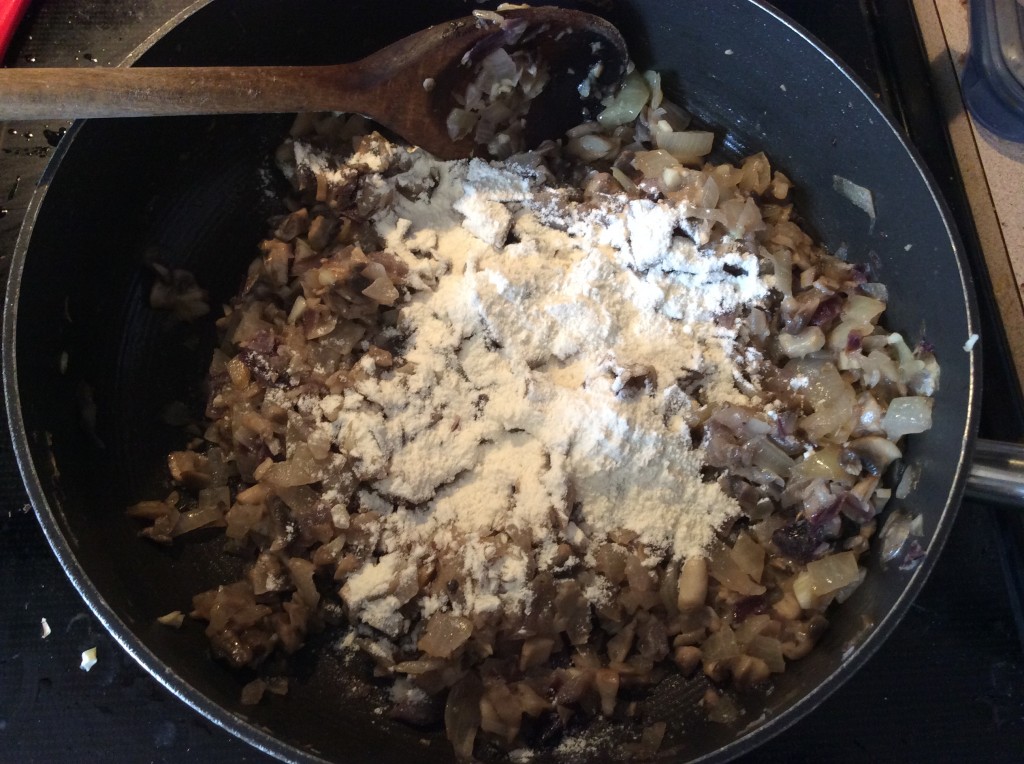
4. Melt 3 Tablespoons butter in a deep, large skillet over medium heat. Add chopped onions and sauté until translucent, about 5 minutes. Add chopped mushrooms and cook until soft, adding additional butter if needed. Add chopped garlic and sprinkle on the flour and cook for 2 to 3 minutes, stirring constantly.

Whitesauce1 CSA Kansas City

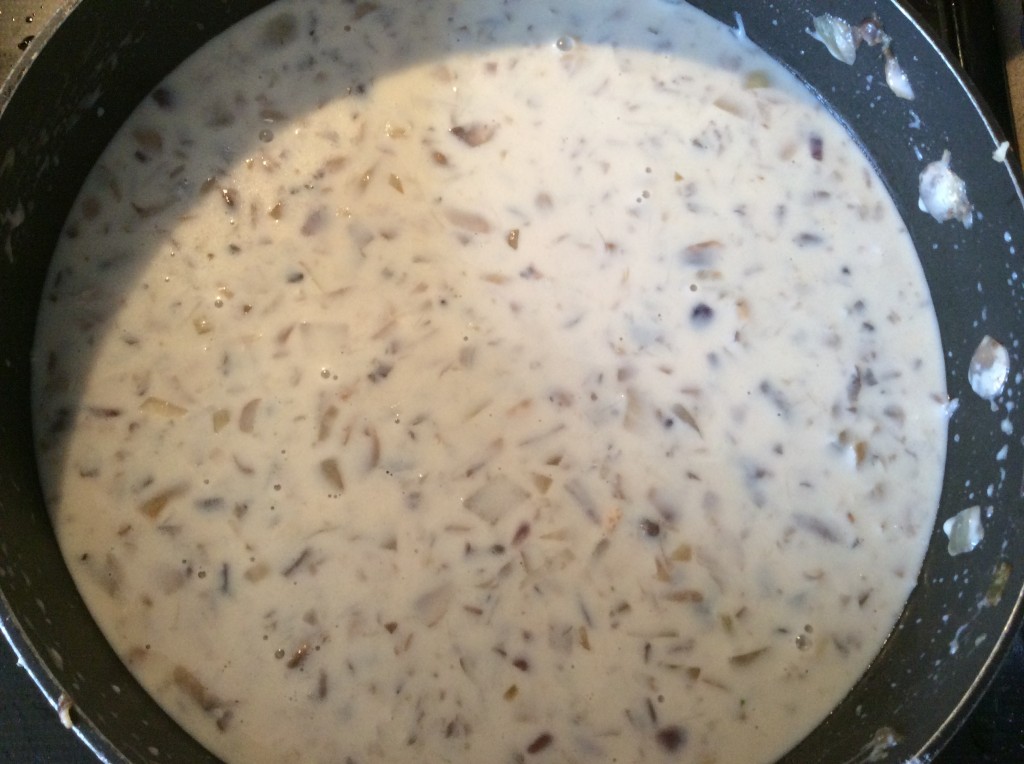
5. Gradually, add the milk, a quarter-cup at a time, stirring to incorporate the milk into the flour during each addition (see photo, below).


Whitesauce2 Kansas City CSA


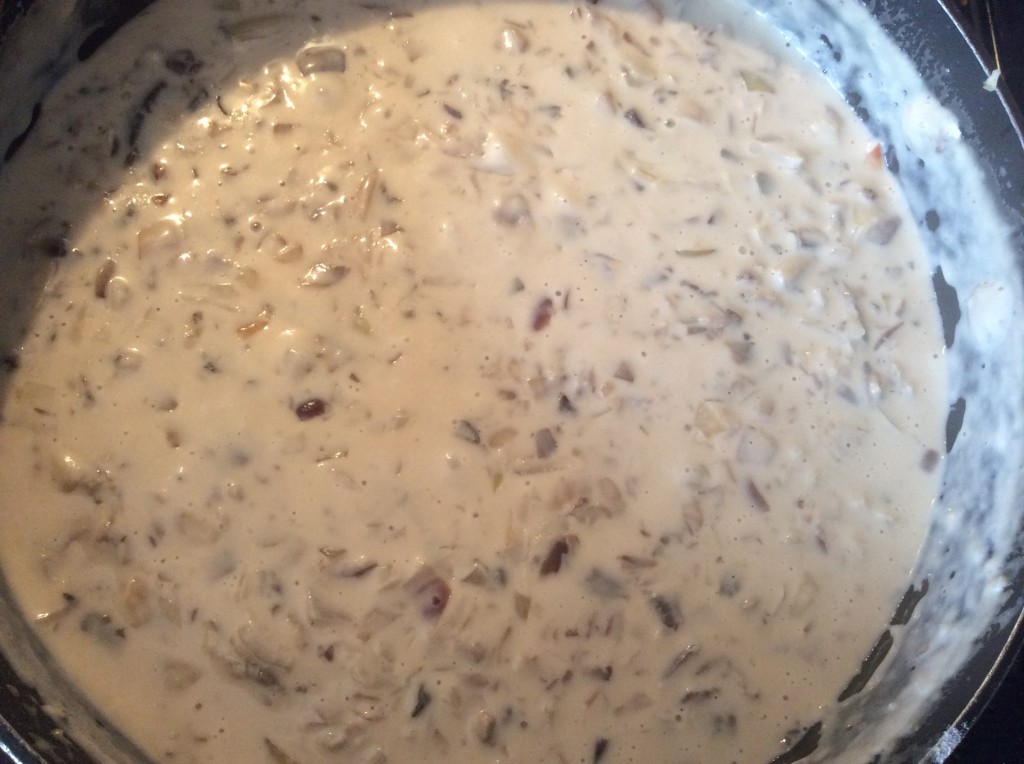
6. Over medium to medium-high heat, stirring constantly, heat the sauce to boiling and cook the sauce for 3 to 5 minutes, until it has thickened slightly (see photo, below).  Season the white sauce with the Worcestershire sauce, paprika, (optional hot sauce) and salt and pepper to taste.  Stir in the shredded cheddar cheese until melted.

Whitesauce3 Kansas City CSA

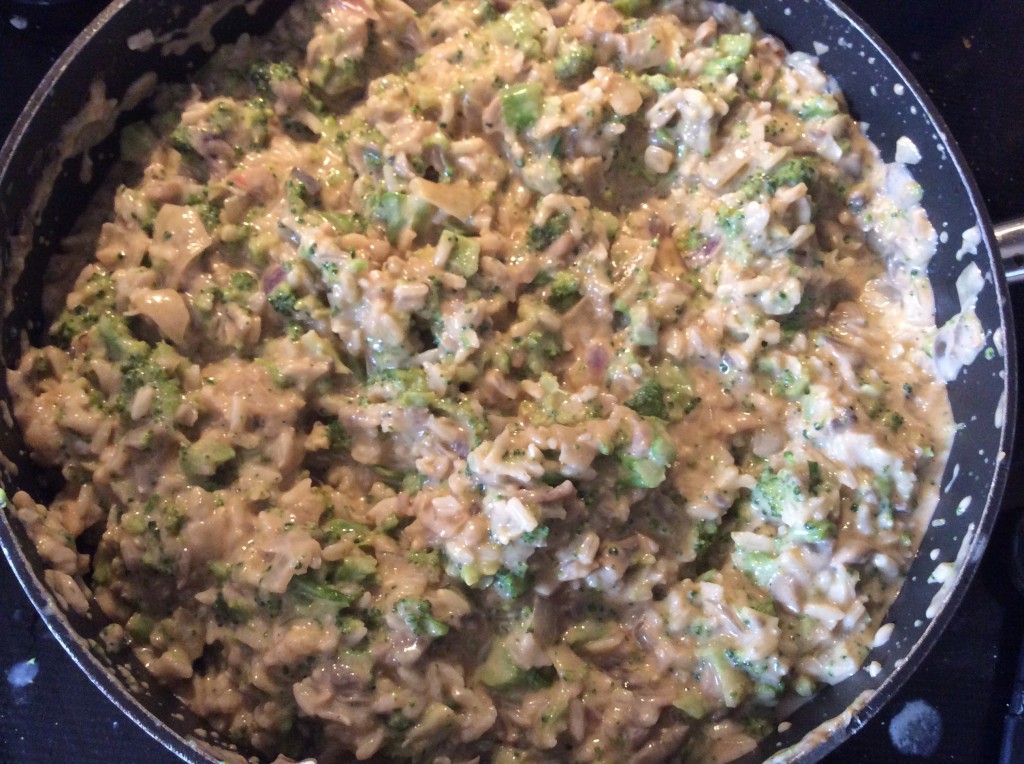
7. Stir the broccoli into the cheese cream sauce and then gradually add the cooked brown rice to the broccoli/ cheese sauce mixture, until the desired consistency is reached; you may choose not to use all of the cooked rice. Season to taste with salt and pepper.

Cheesy Broccoli Cass. unbaked Kansas City CSA

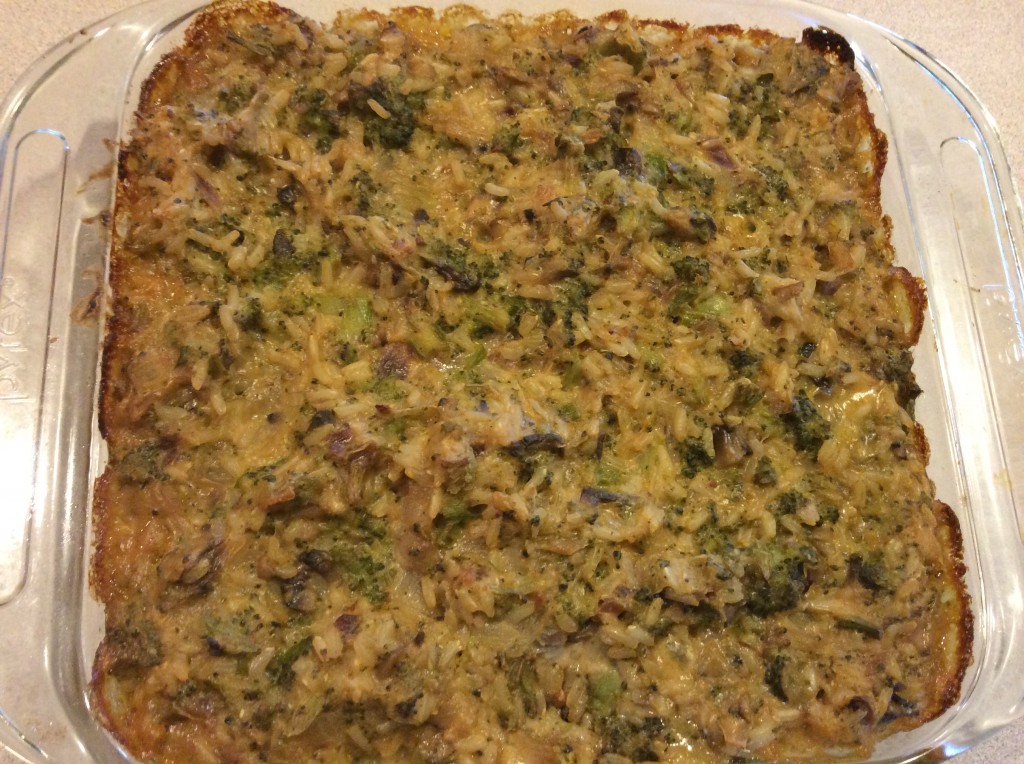
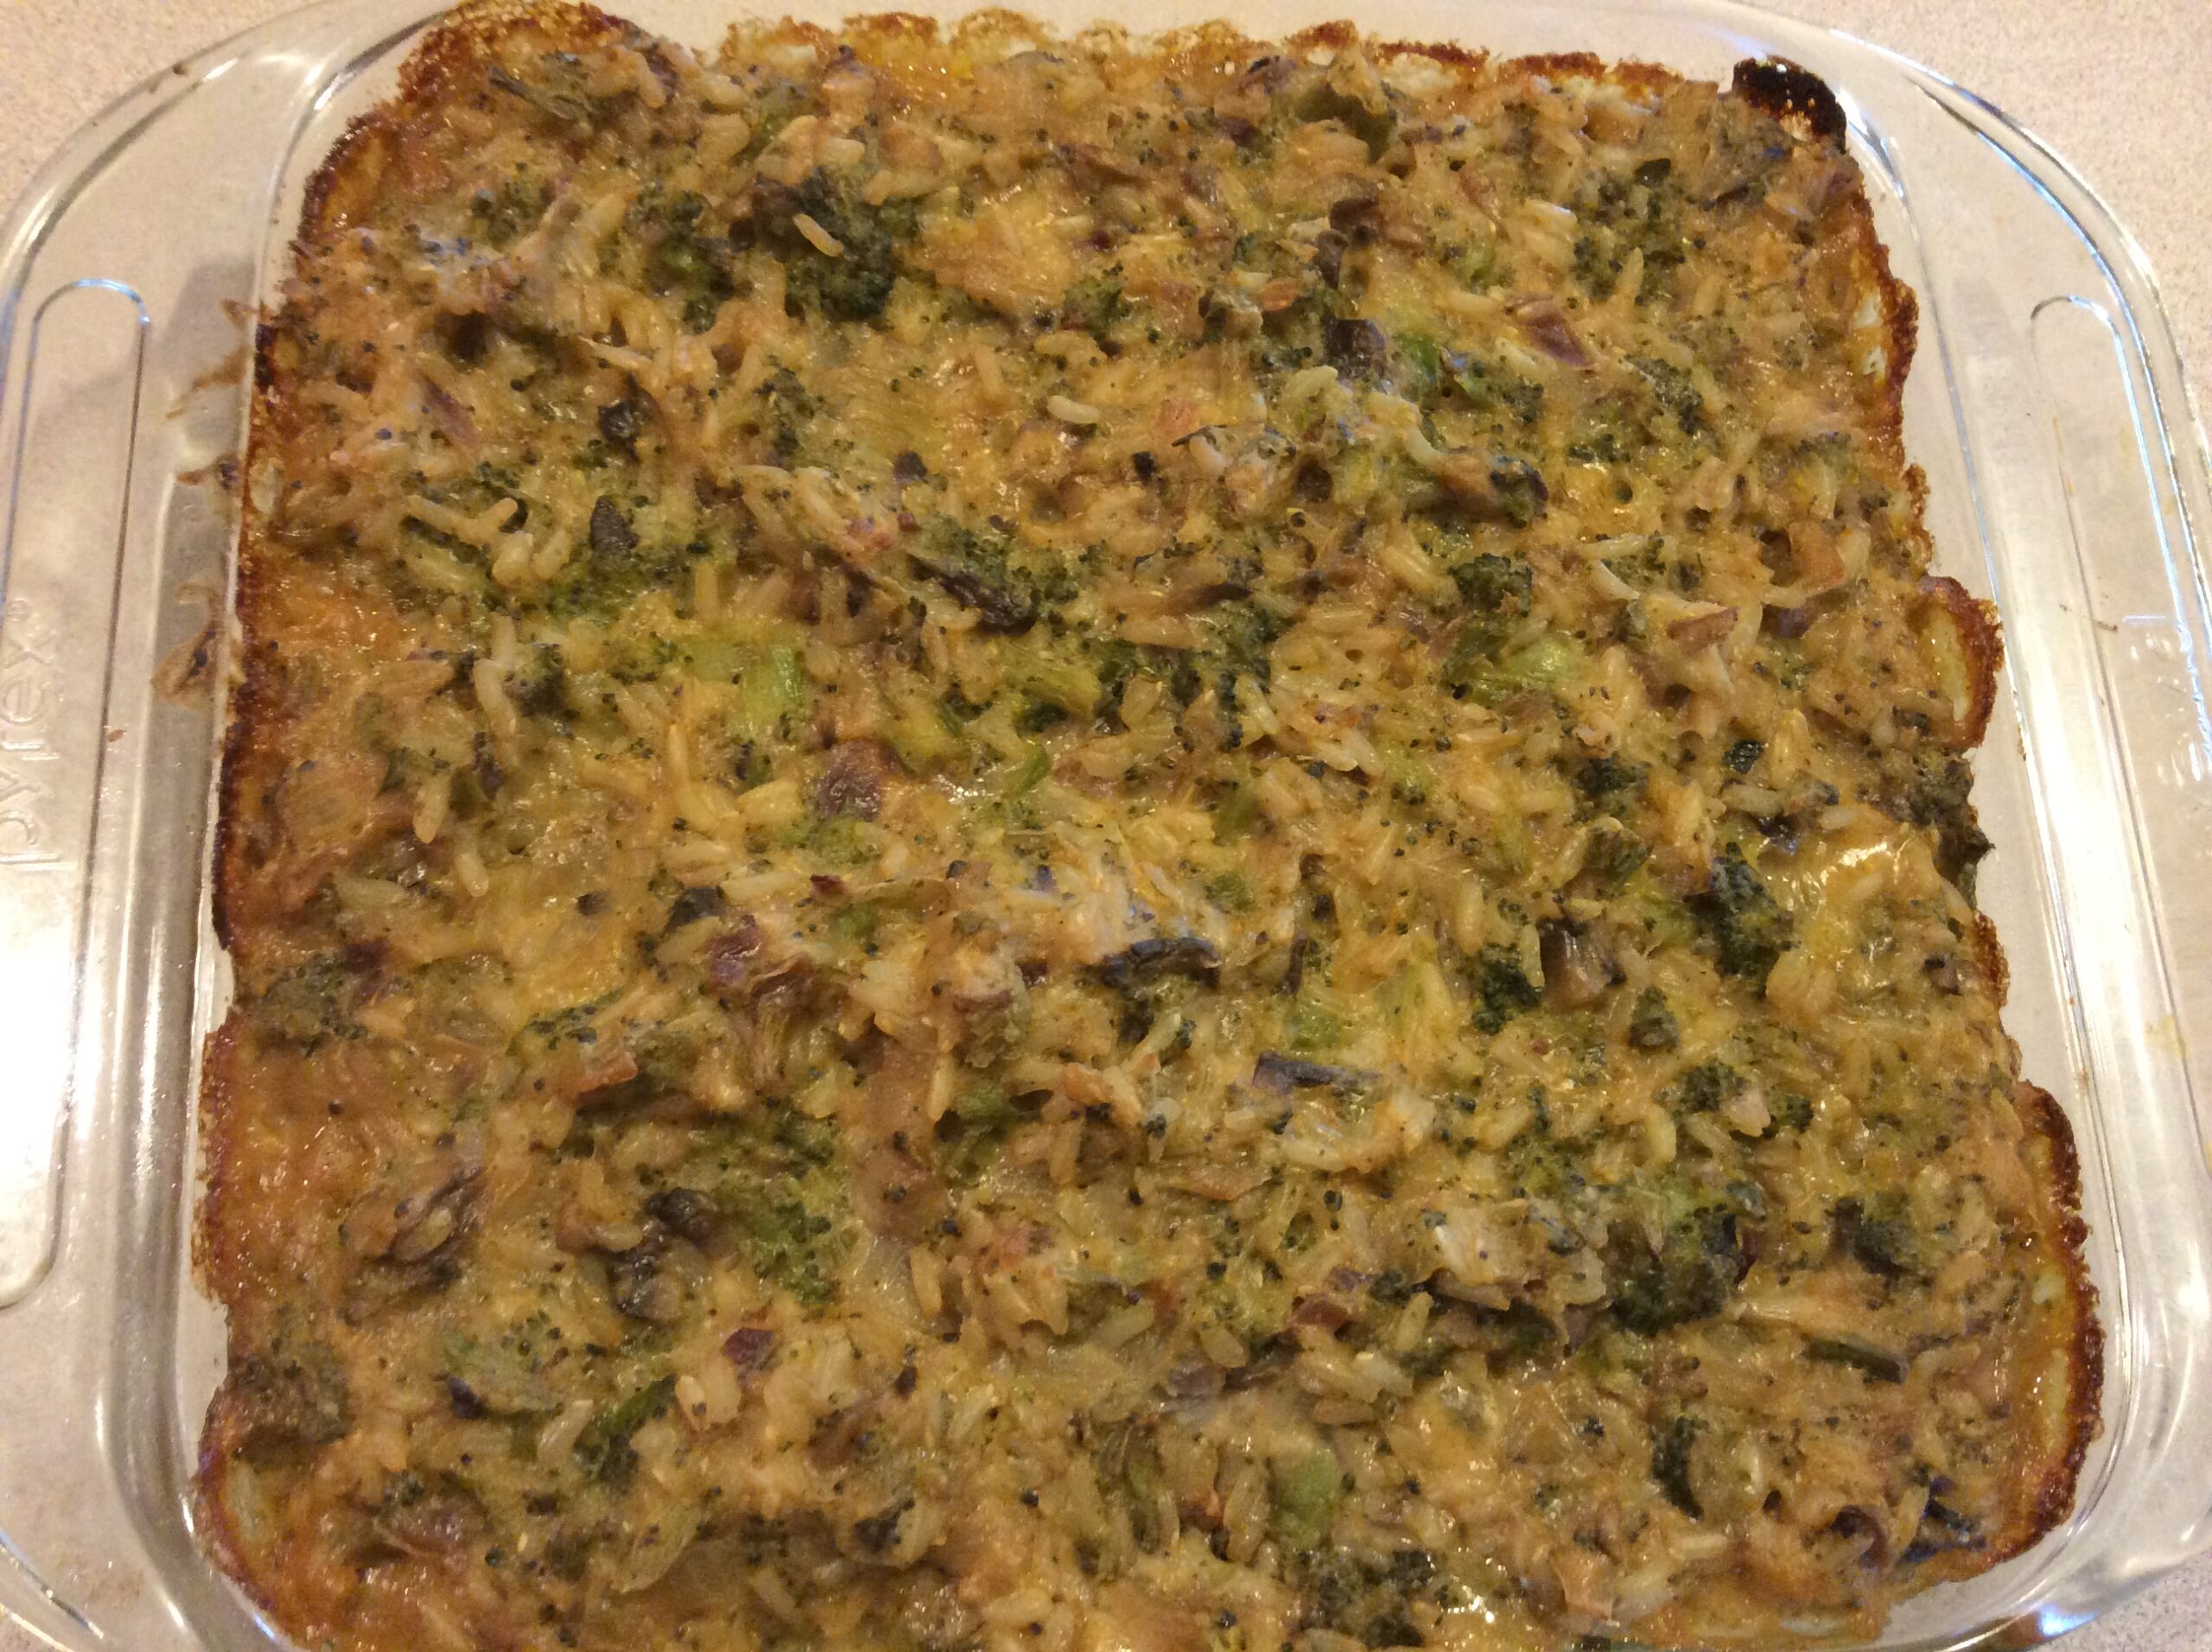
8. Transfer to a greased casserole dish (9 inch square or similar). Bake at 375F until hot and bubbly, approximately 15-20 minutes.

Cheesy Broccoli Brown Rice Casserole Kansas City CSA


Kansas City Join a CSA: Proven to Change your Eating Habits

Kansas City, want to change your eating habits to include more healthy vegetables? Research says that one easy way to eat healthier is to join a CSA. A scientific study proves that CSA membership has beneficial effects on participant’s eating habits.

The study was conducted by the Center for Agroecology & Sustainable Food Systems researching Community Supported Agriculture members’ experiences from 14 California CSAs. 

81% of Community Supported Agriculture members say they’ve had some type of change in eating habits as a result of joining a CSA.

Respondents noted that after joining a CSA they were:

eating more vegetables, eating a greater variety of vegetables, eating healthier, eating at home more and eating out less, and eating better quality food.

Where the Redfearn Grows Natural Farms CSA members are no different. You can read some of their CSA reviews here.  Kelly from Independence, MO wrote:

We’ve been working on living a healthy lifestyle, and Where the Redfearn Grows has really helped us do just that! The variety of food we received got me excited about cooking and trying new recipes and now even my husband enjoys out-of-the-ordinary veggies!

How can joining a CSA help you live a healthier lifestyle? Where the Redfearn Grows Natural Farms CSA members enjoy a weekly box of fresh picked vegetables for up to 24 weeks depending upon their CSA season selection. Our members report that the quantity and variety of vegetables in their shares is more than they would ordinarily buy at the store. The weekly reception of a cornucopia of high-quality, fresh, locally grown produce is a tremendous encouragement to dive in and get cooking. Our recipes and preservation tips for each week’s box will help you to take advantage of this opportunity to build a healthier lifestyle.

At Where the Redfearn Grows Natural Farms our motto is: “Together, we’ll change the way you eat!”

Join our CSA today to change your eating habits for years to come.

CSA Share Blue Springs Lee's Summit Independence
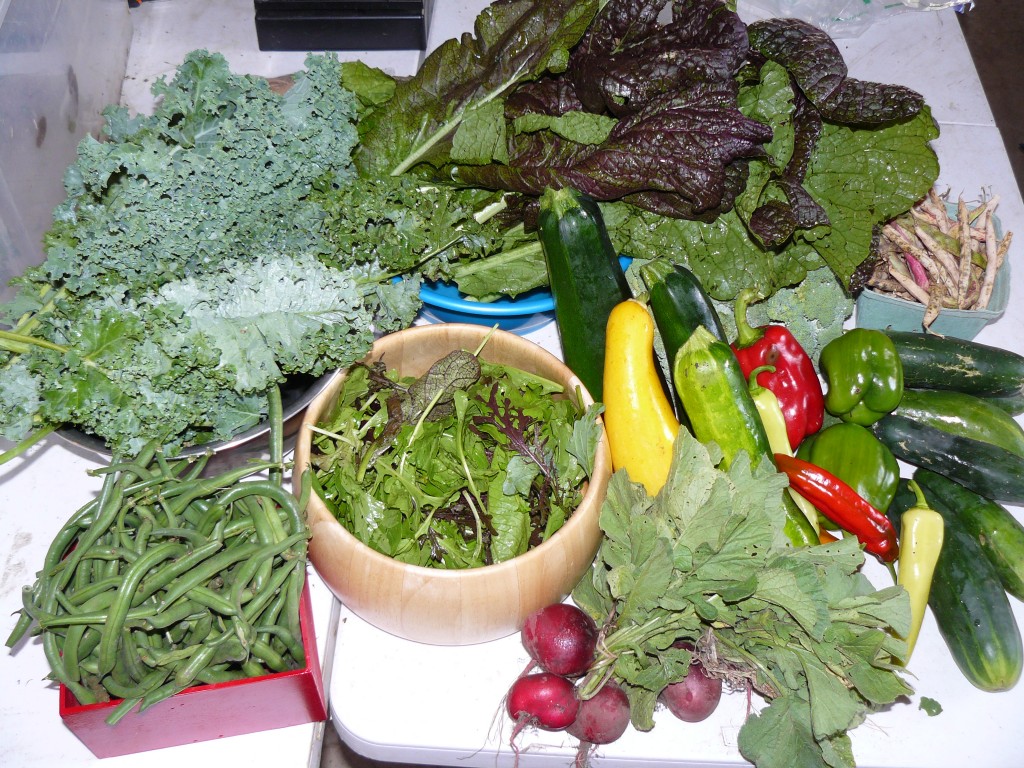
An actual full CSA vegetable share from Where the Redfearn Grows Natural Farms on September 30, 2013


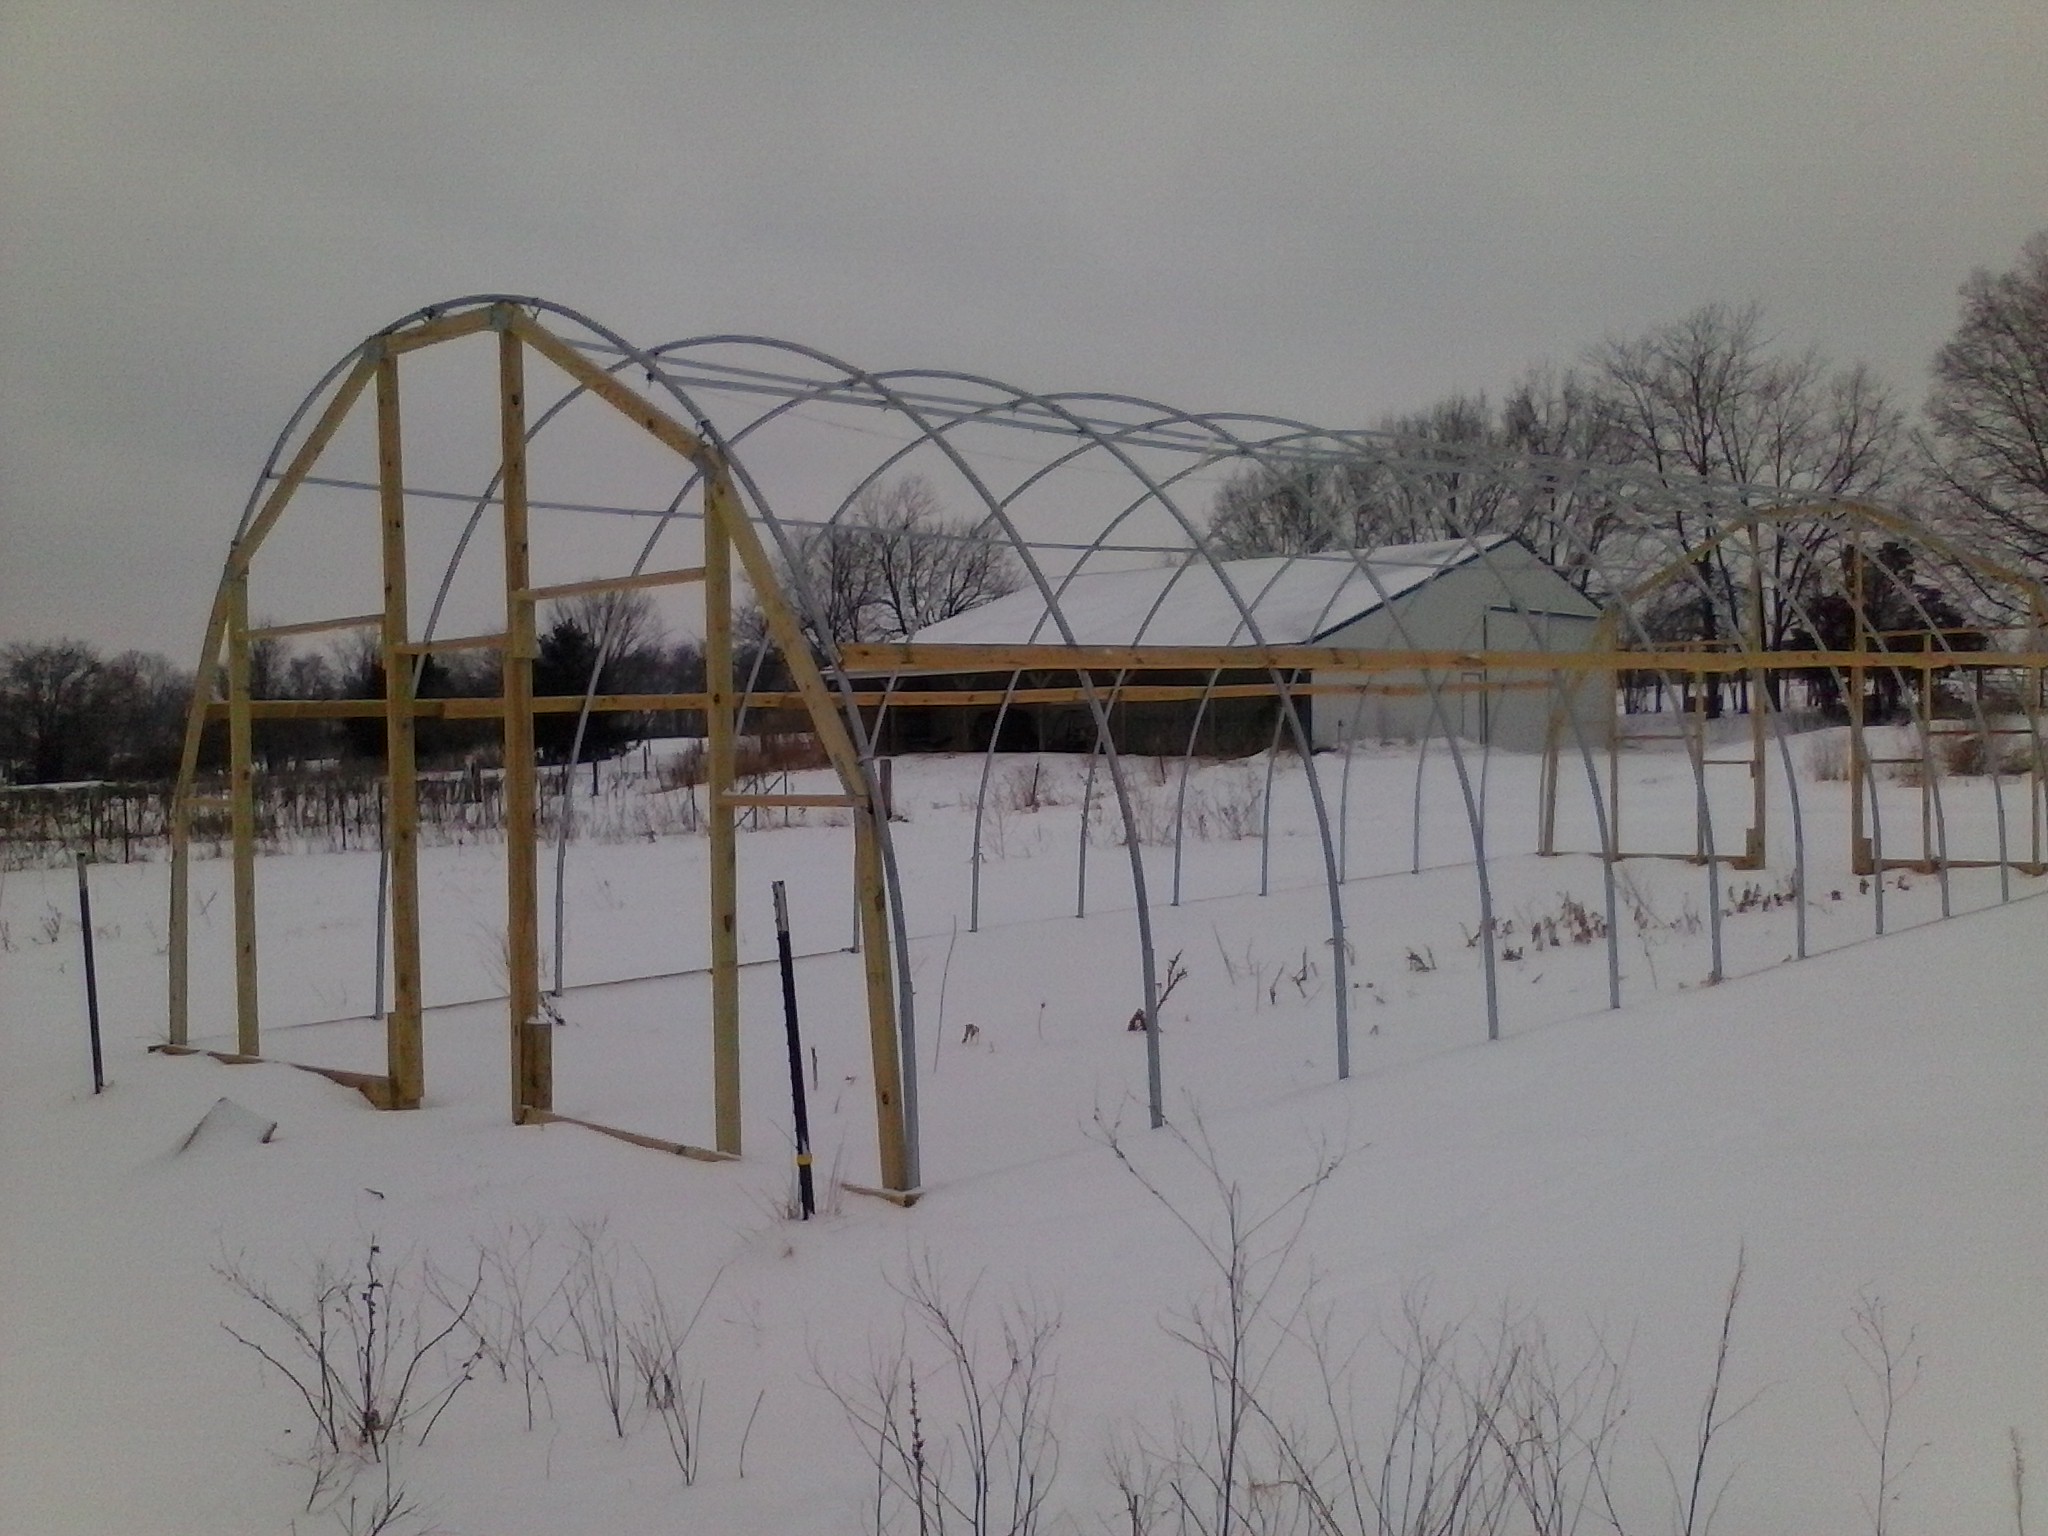
Greenhouse End Wall Construction

We had hoped to get our greenhouse operational before the winter, but as usual, life happened. Baby came and mom was pretty incapacitated for a while. A lot of our CSA members came through in a pinch to help out with the extra work, but we didn’t get a chance to finish construction.  So we’ve been trying to play catchup, putting it together little by little.  We’ve started a few flats of seeds indoors, but we really need the greenhouse functional for the bulk of the seed starting.  So despite the cold this weekend, we worked on the greenhouse end wall construction.

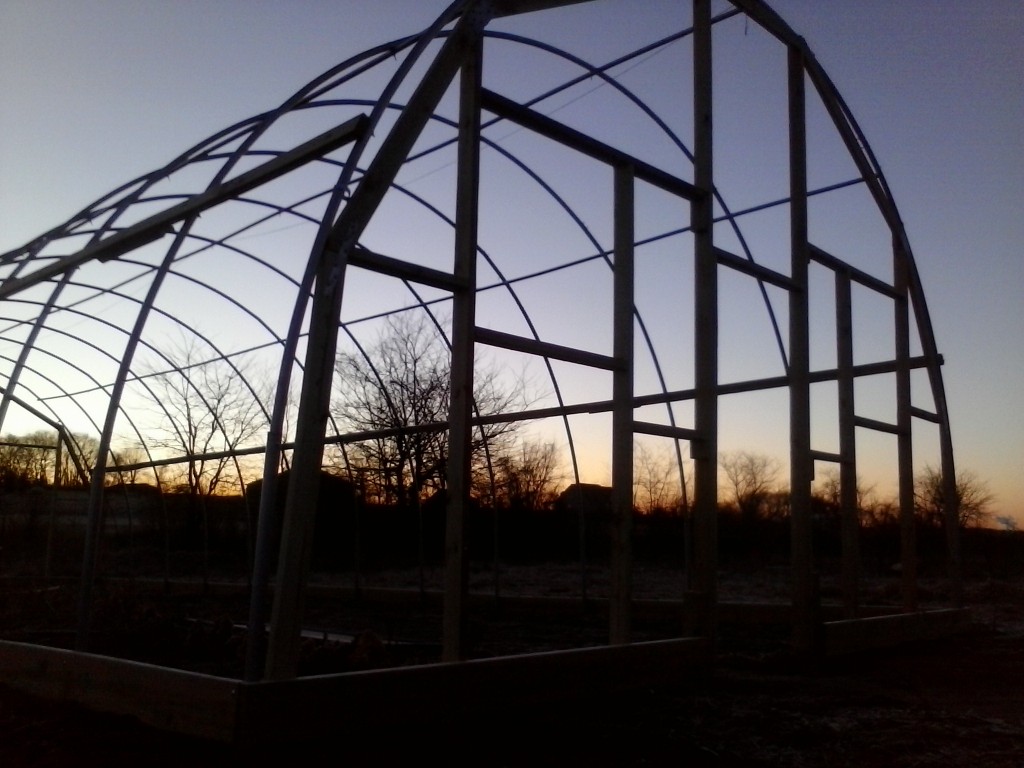
greenhouse sunset 2

What I’m calling a greenhouse is often referred to as a high tunnel.  We don’t plan on providing heat to it but will depend on solar heating. We plan to use this greenhouse to house seedlings in early spring. In addition, we will be planting heat-loving plants like bell peppers there for an early start and a late harvest. Which means ventilation is key.  This fall we’ll also plant cool-loving plants for an experiment in winter growing of salad greens and other cool-loving crops.  If all goes well, we may even offer a few CSA shares of a special extended harvest or winter harvest CSA.  Stay tuned for details.

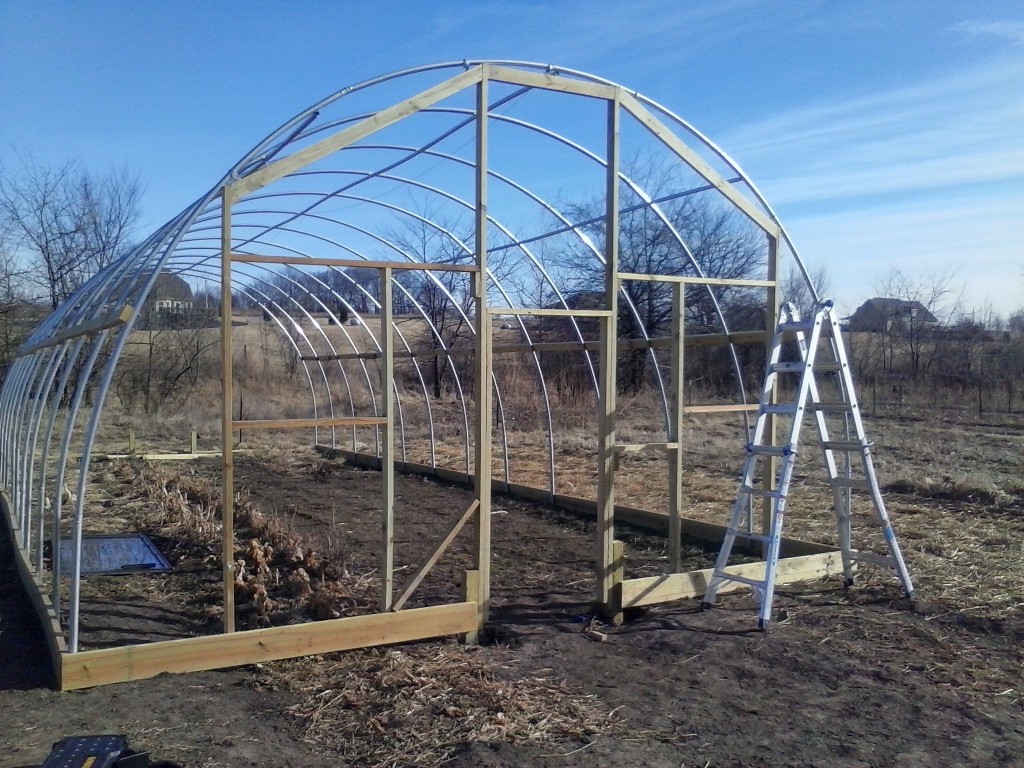
greenhouse ladder

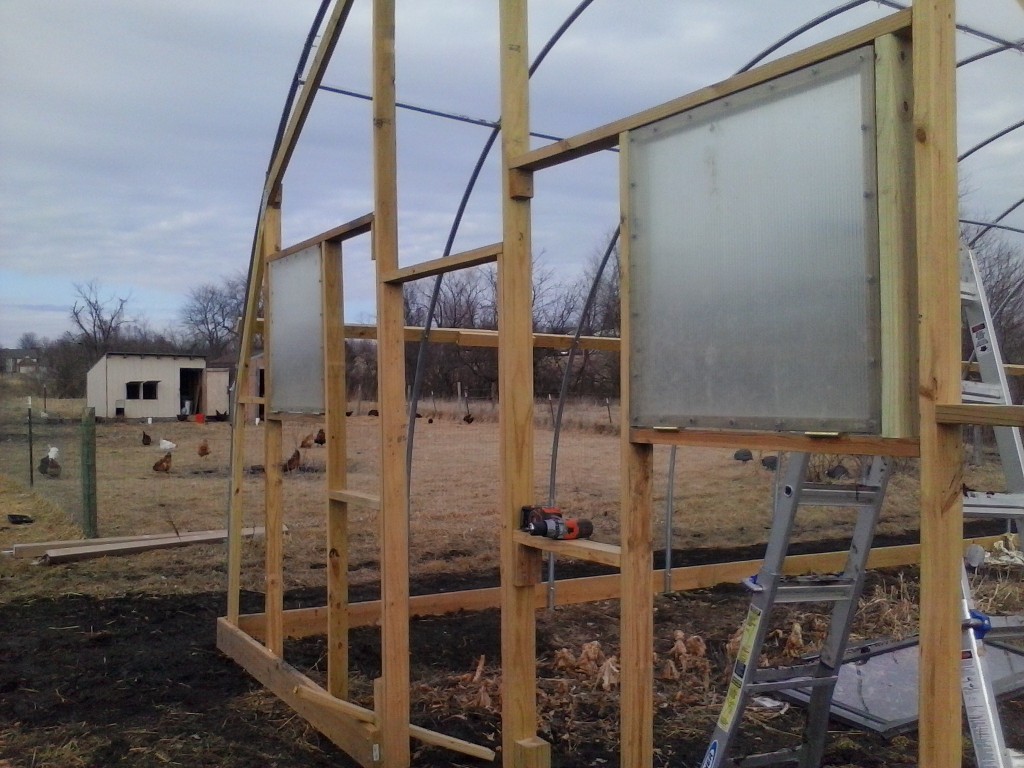
Well, this weekend we managed to finish the end wall construction by framing in the two ends. For end ventilation we added 3 hinged windows on each end. The “windows” were leftover covers to my coldframes I had built for us when we lived in the suburbs.  Now those cold-frames are really a joke as far as the size required for our current situation, so I removed the covers and framed in the end walls to accommodate the size of 32″ by 32″. I bought the double-wall polycarbonate for those covers at Stuppy Greenhouse Supply in Kansas City, MO.

greenhouse windows independence Missouri

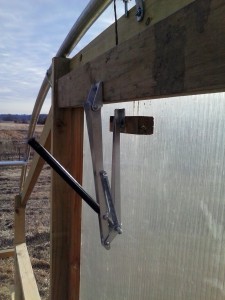
The upper windows  since we can’t reach them are fitted with a cool gizmo with wax-filled piston that expands at warmer temperatures and opens the window without electricity and spring closes when it gets cold.  The two lower windows will be fitted with a string to pull them closed.  We will be able to tie them off at various degrees of opening.

auto opener greenhouse independence

I’ve got a few more things to do before putting on the plastic covering. I need to connect the cross support bracings for added wind control and I need to cover all the sharp exposed metal with duct tape to prevent tears in the fabric.  Once we are ready for the fabric we’ll be looking for a windless day to call all the Redfearn Farm friends out to help us install the fabric covering.  Stay tuned. We may be in need of your help within the next week or two!

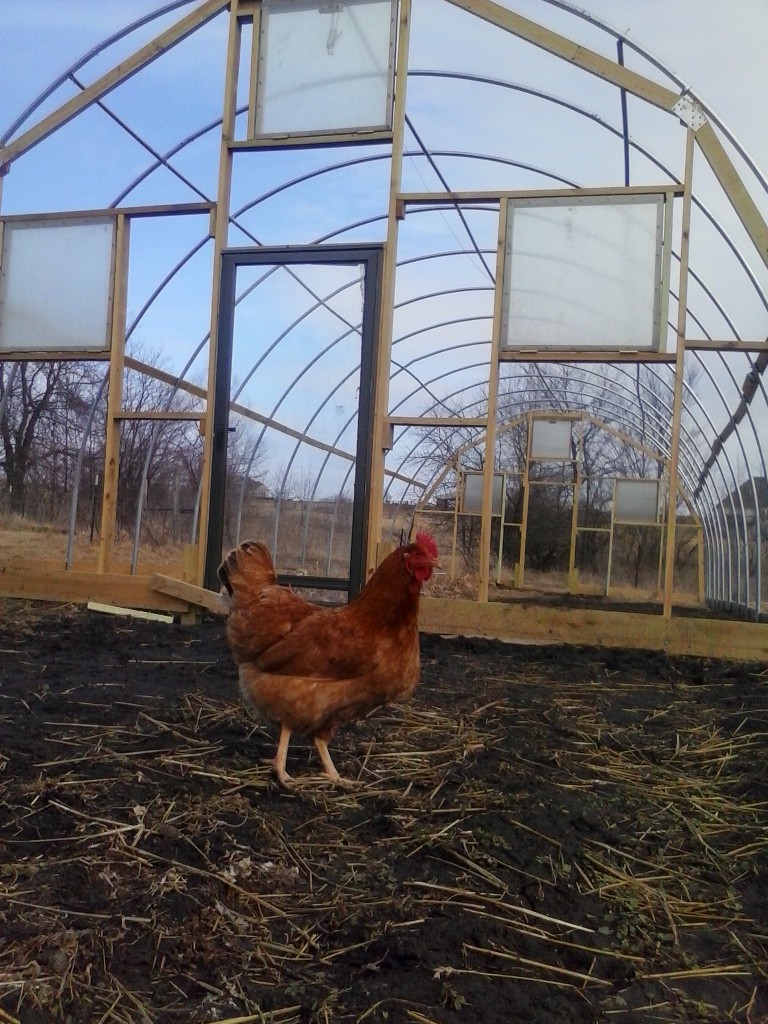
hen and greenhouse blue springs

I don’t think this egg laying hen knows what to think of the greenhouse.

An Inconvenient Harvest

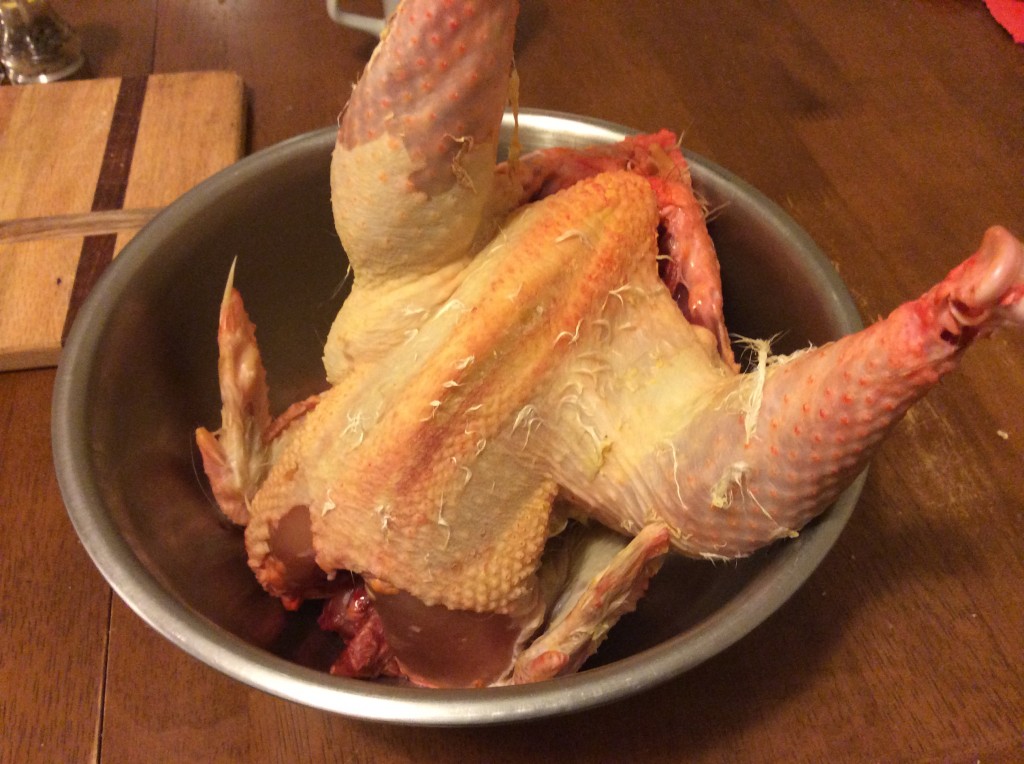
He had it coming. I’d had my eye on him for quite some time.  This time, I couldn’t let him get off easy.  No, he’d done too much; he’d crossed the line.  He was going to regret every picking on my children! When I heard my son’s screams, I knew exactly who it was.  He’d been so cocky, such a Big Shot.  Why didn’t he pick on someone his own size? When I rounded the corner I saw him, my son cowering in the corner with tears streaming down his cheeks trying to fight him off. I stormed toward him with clenched fists and fire in my eyes. I would not abide him any longer!

It was a quick fight. He didn’t really stand a chance. Vengeance had been taken! Justice was done. Had I meant to kill him? I’m not sure. All I could see was that laughing face as I choked the life out of it!  Once I’d had the taste of blood I moved on to the others that had caused so much trouble.  I knew right where to find them.  Before I knew what had happened, five bodies lay at my feet!

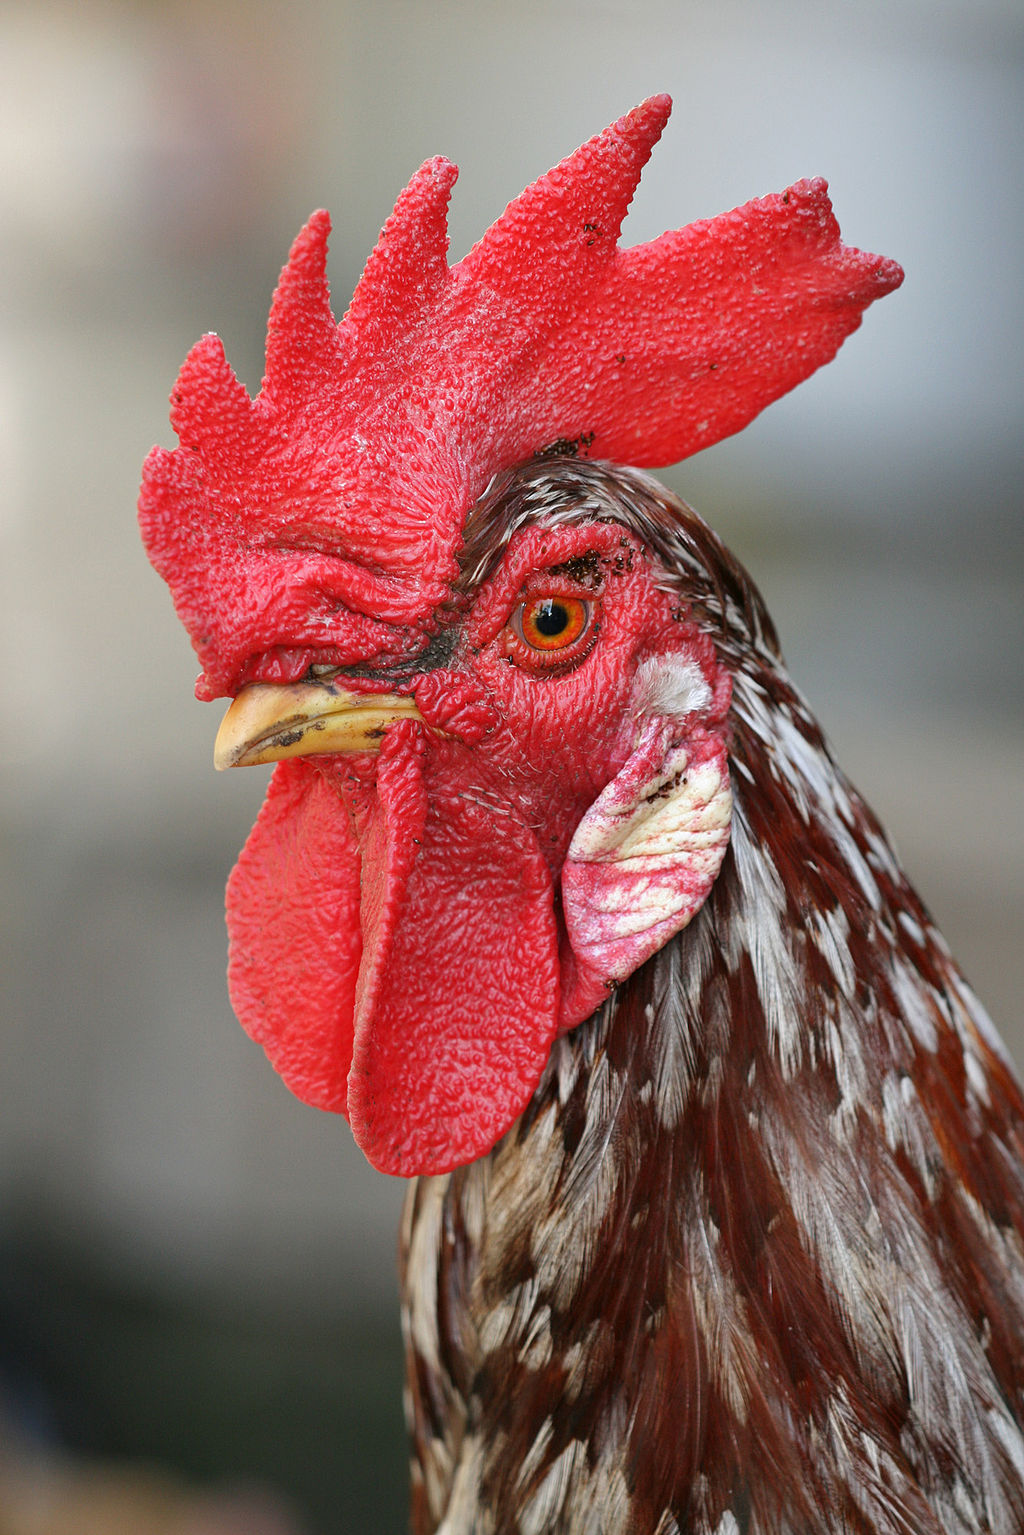
Rooster Comb CSA Kansas City

Can you see the cruelty in those beady eyes? Can you see why I did it? Does anybody understand?

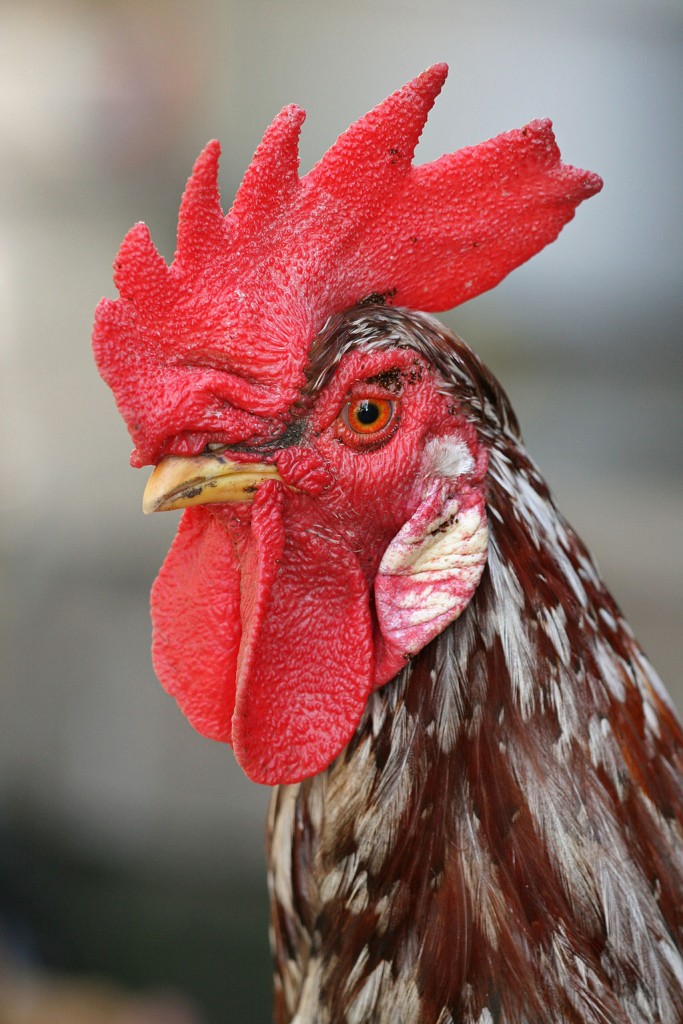
Rooster Community Supported Agriculture

He won’t peck at any more kids ever again!  Sheri’s going to make him into coq au vin…Yum!

Ducks CSA

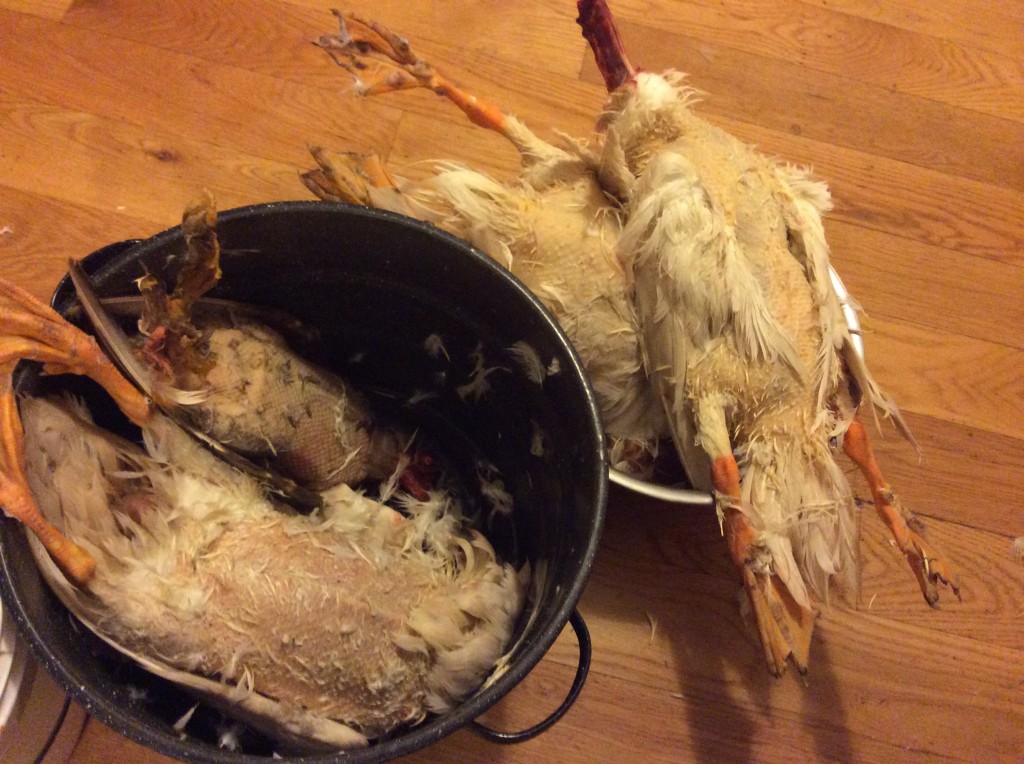
And his buddies, the he-ducks, won’t bully the females any more.  Last week they ganged up on one of the female ducks and killed her. At the time, I knew what to do, but didn’t have the time to take care of them.

So we weren’t planning on butchering ducks and chickens today. I’d been planning to work on the greenhouse, not harvest poultry. I’ve got a pretty awesome wife, though.  She had other plans for the afternoon when I walked up to the kitchen door holding the dead rooster.  I asked, so do you think I should go kill all the male ducks too?  She said, “Sure, why not?”

So here we are plucking a rooster and some ducks, thinking, “No wonder everybody buys their poultry under plastic wrap at the grocery store.”

By the way, in the side-by-side comparison, I’d pluck five chickens for every duck.  Those duck feathers are a pain!

So as newbie farmers we’ve learned quite a bit our first year:

  1. Ducks are really messy and not worth having around.
  2. Chickens are way easier to pluck.
  3. In the farmyard a little testosterone goes a long way.
  4. Some roosters are just plain mean.

We figured we’d kill the mean rooster before our community supported agriculture customers started bringing their kids to see the chickens on pickup days.  We’ve got a couple more roosters, but after what happened to their big brother, I think they’ll be on their best behavior.


Seed Starting at Redfearn Farm CSA in Independence!

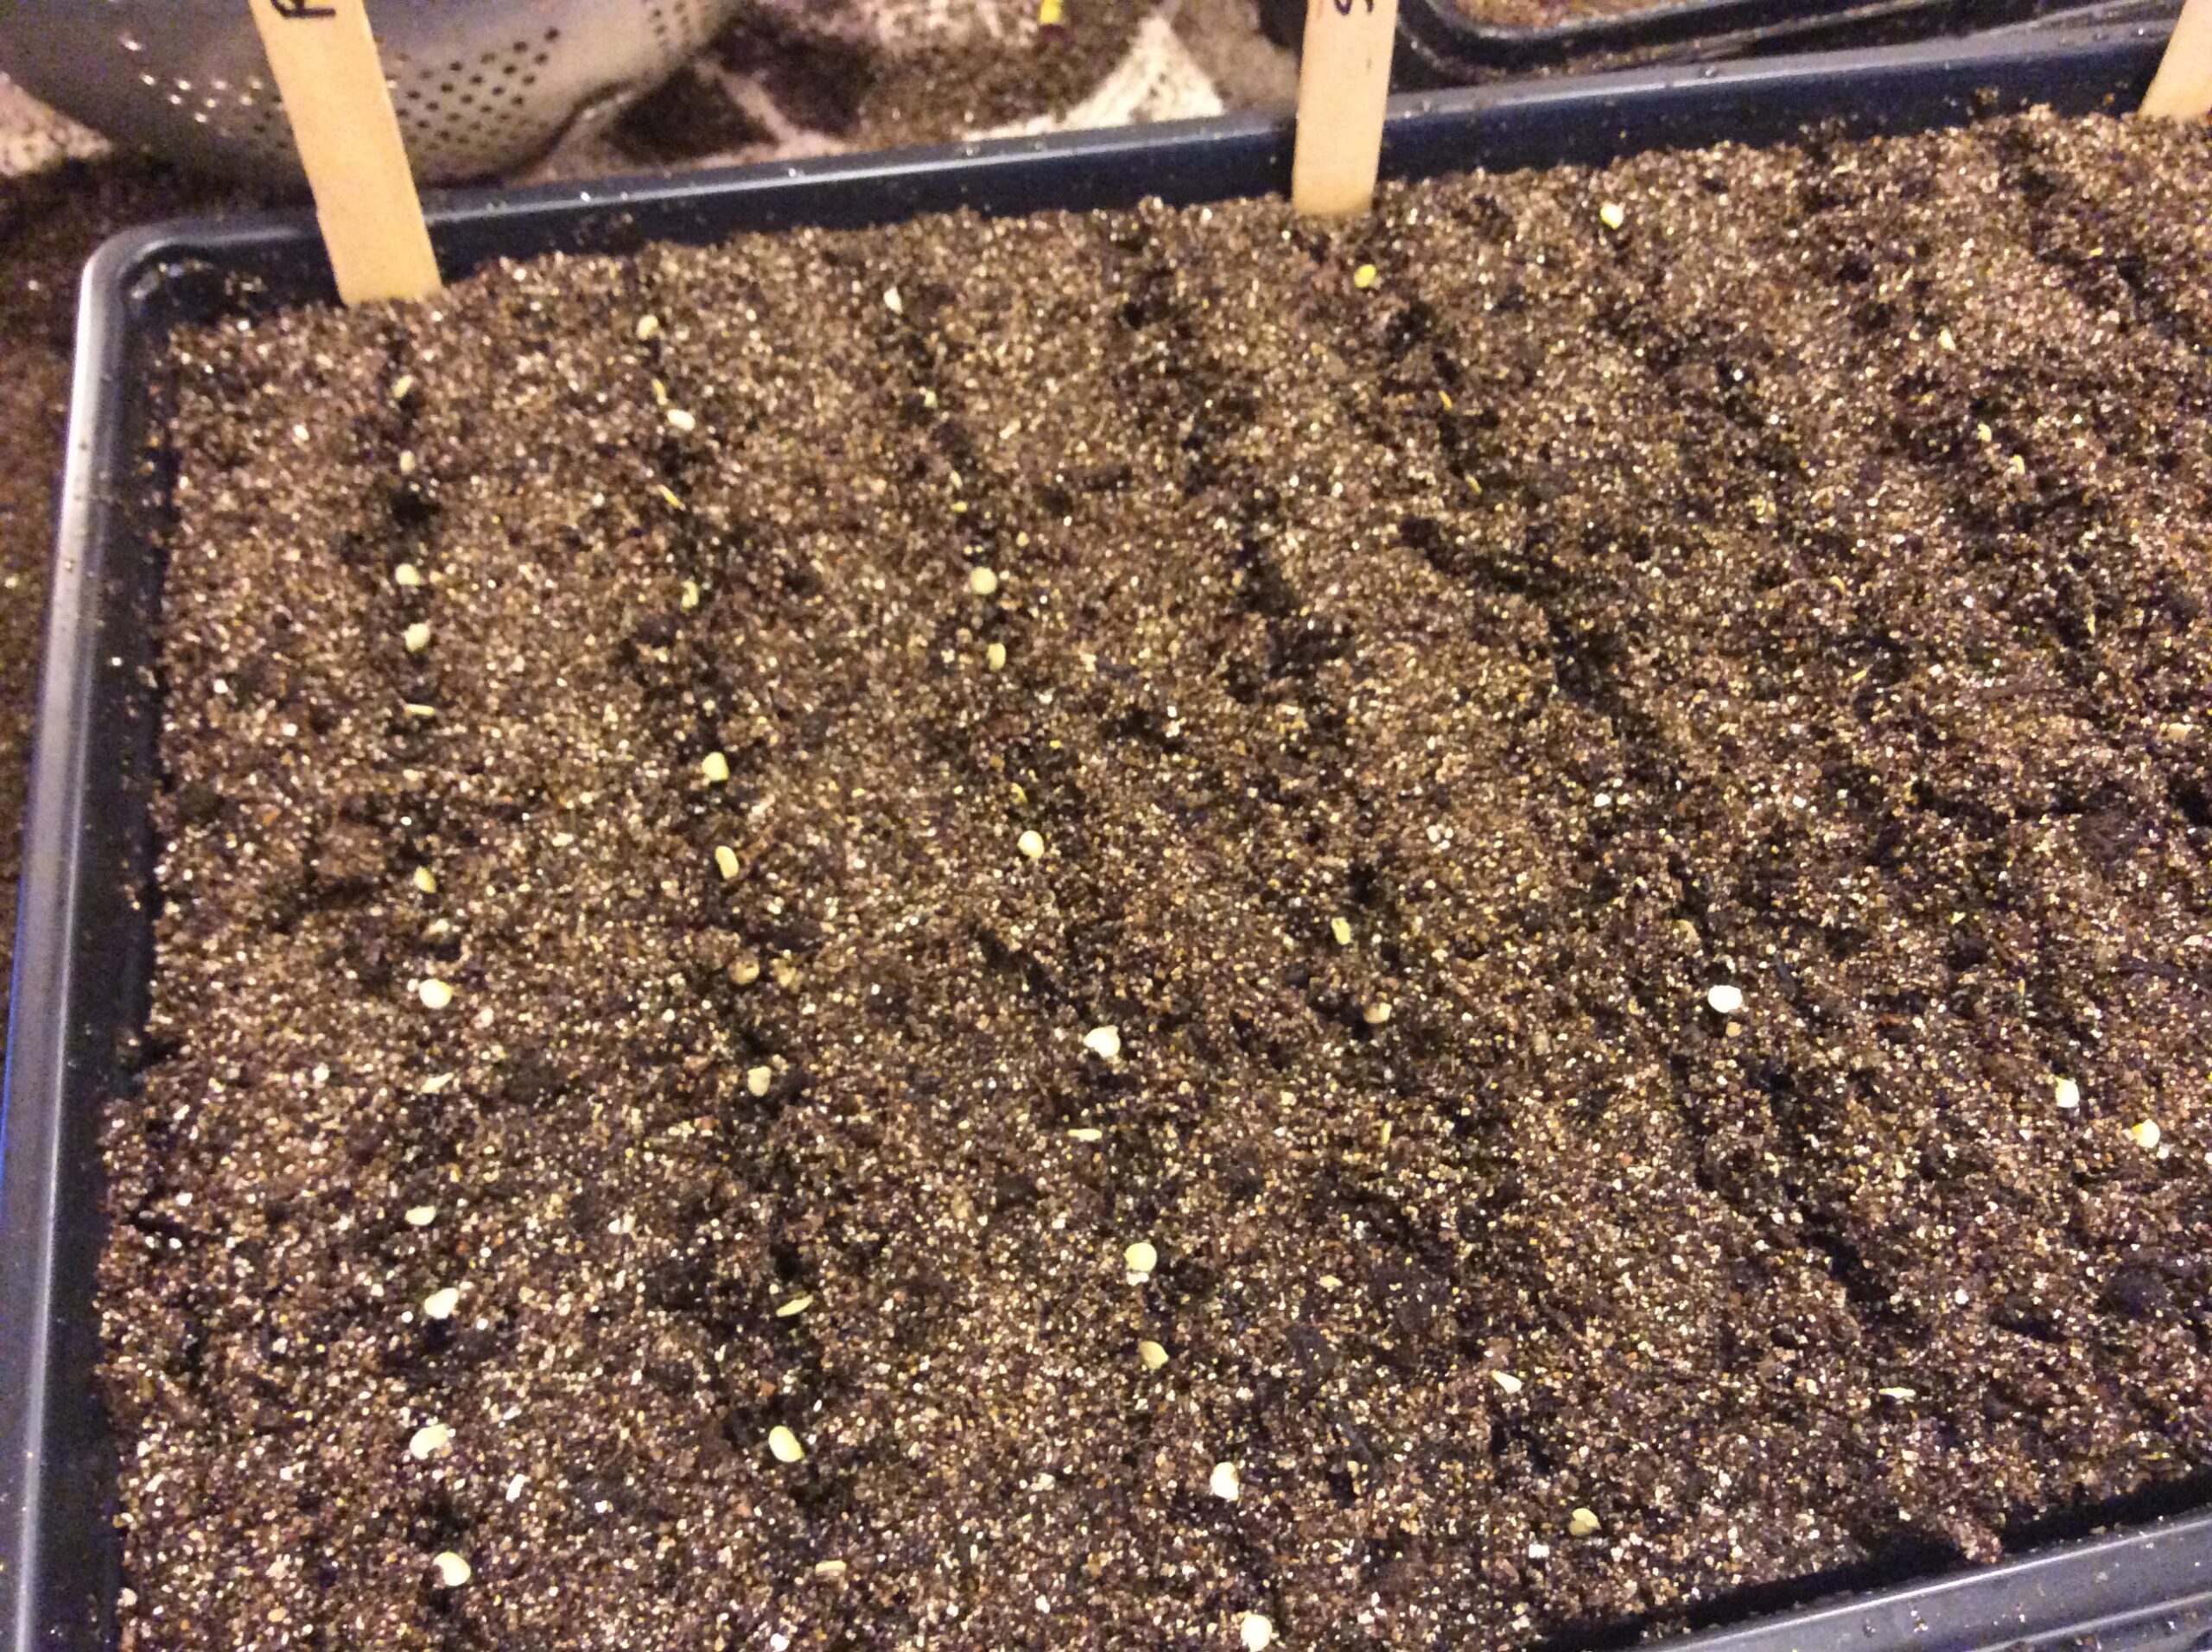
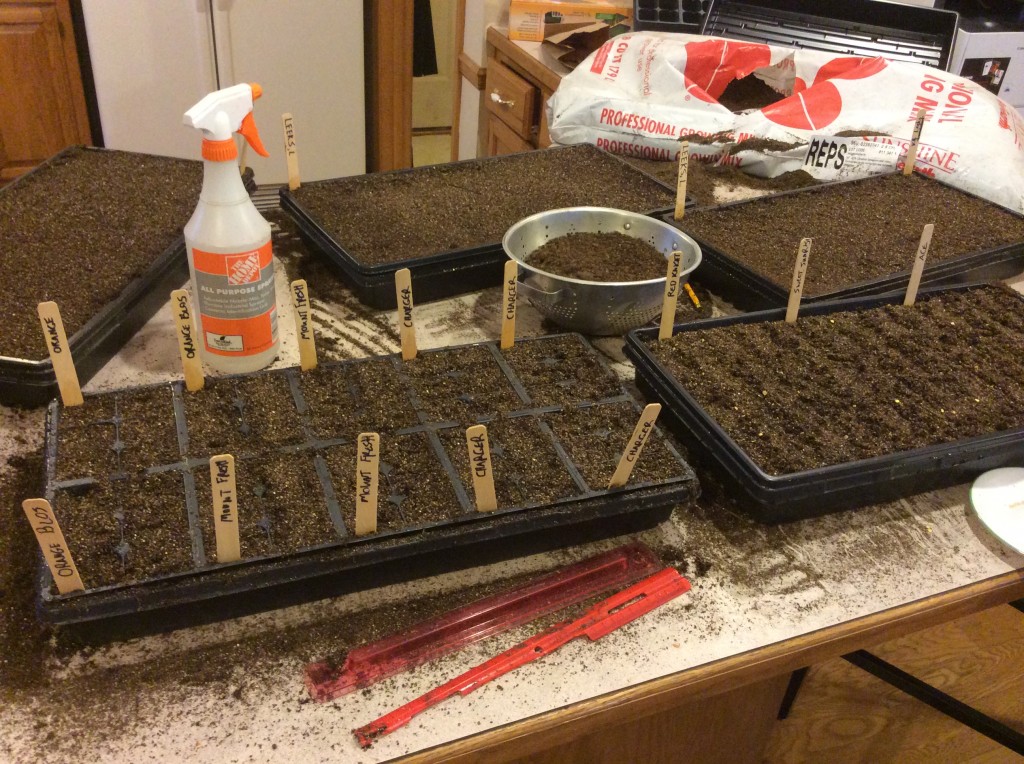
The first of many seeds for the 2014 Redfearn Farm CSA have been planted!  It’s exciting to finally be underway.  Once these plants germinate, I’ll start to feel a hint of spring even if there’s still snow on the ground.  We spent the afternoon planting leek, tomato and pepper seeds.

Oops...
Slider with alias VegetableSeed not found.

This is a tiny portion of what we’ll be planting for later transplant.  Come spring, we’ll be transplanting out to the beds around 2,000 leeks that Redfearn Farm CSA customers will begin to enjoy this summer.  We’ve got two varieties of leeks this year, an early variety called King Richard and a later variety called Lancelot so hopefully CSA members will enjoy a longer harvest period for these wonderful vegetables.

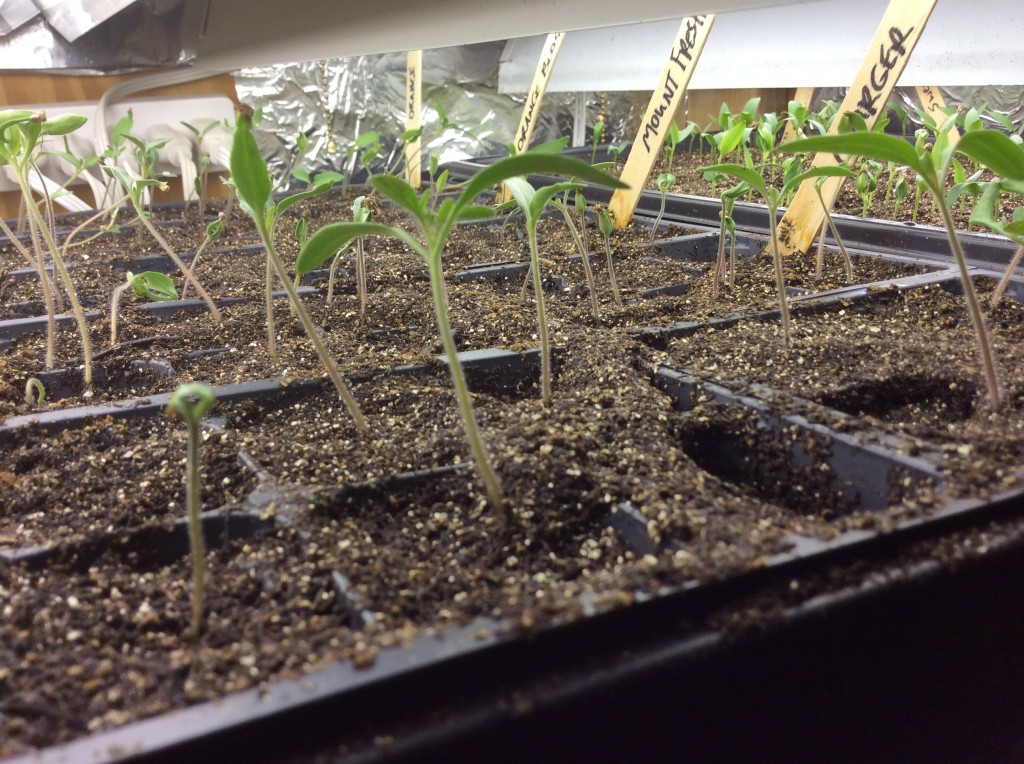
For tomatoes and peppers we’ve got more than ten varieties to plant of each, but today we planted only the varieties that will be planted out in our new high tunnel for extra-early peppers and tomatoes.  Redfearn Farm CSA customers should expect tomatoes and peppers at least 4 weeks earlier this year despite our cold Kansas City winter.  Those first Tomatoes will be Orange Blossom, ChargerMountain Fresh Plus.  The bell peppers that we plan to plant in the high tunnel are Red Knight X3RAceSweet Sunrise.Since the greenhouse aka high tunnel isn’t complete yet, we don’t have a warm outdoor location to do the planting.  Never fear, Sheri let me use the kitchen counter.

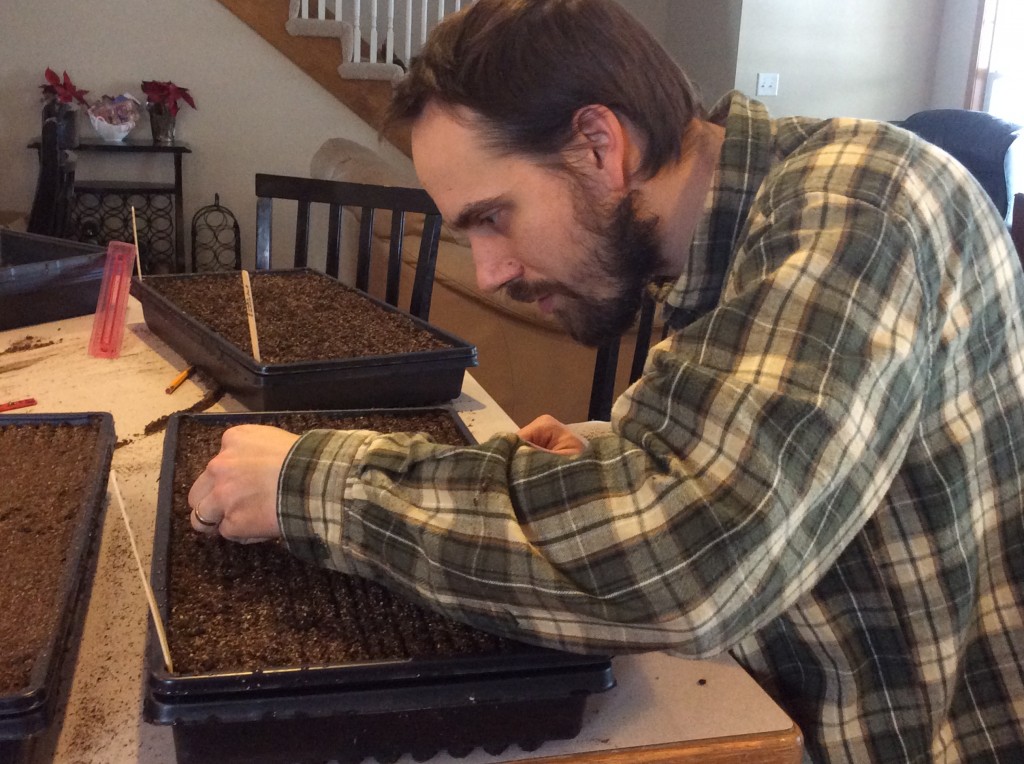
Here I am planting Leek Seeds.  2,329…2,330…2,331….

Planting Seeds CSA Kansas City

That was pretty tedious.

Wish we had that greenhouse finished.  What a mess!

Seed Planting Mess CSA Kansas City

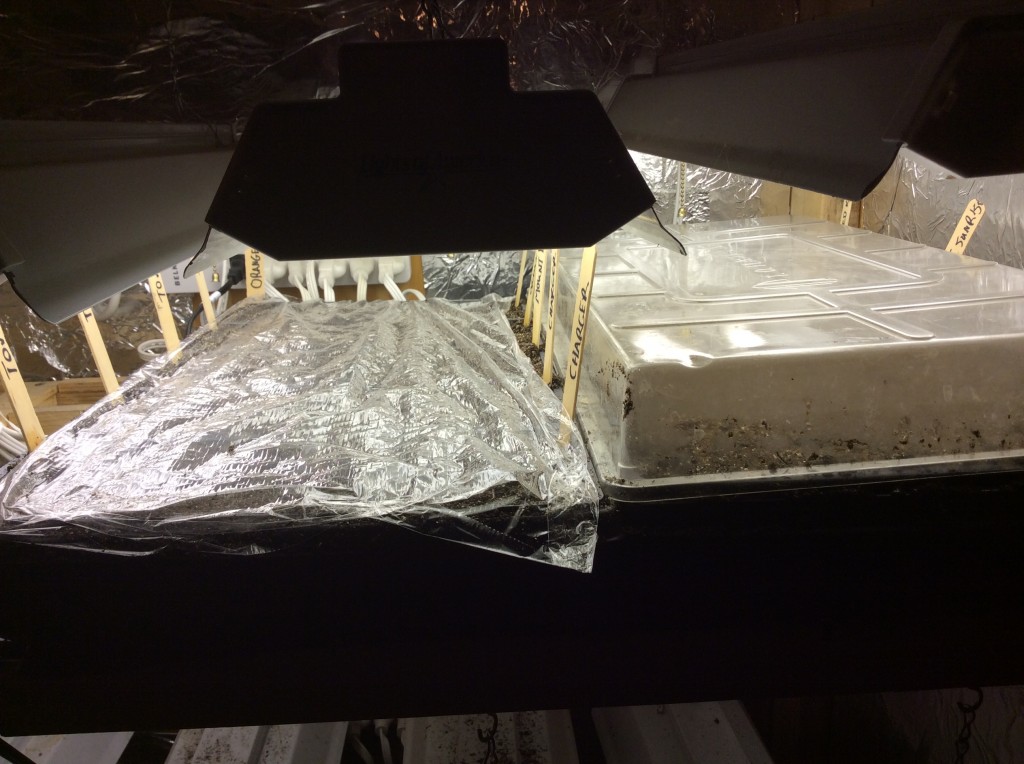
We hope to get the greenhouse finished within the next month, but until then we’ll utilize the seed germination station I built a couple years ago.  It consists of a cabinet with movable shelves and 12 fluorescent shop lights.   Here are some of the flats sitting on their heating lamp and covered to hold in the moisture while they germinate.    We should see some progress in a week or two.

Seed Flats under lights CSA Kansas City

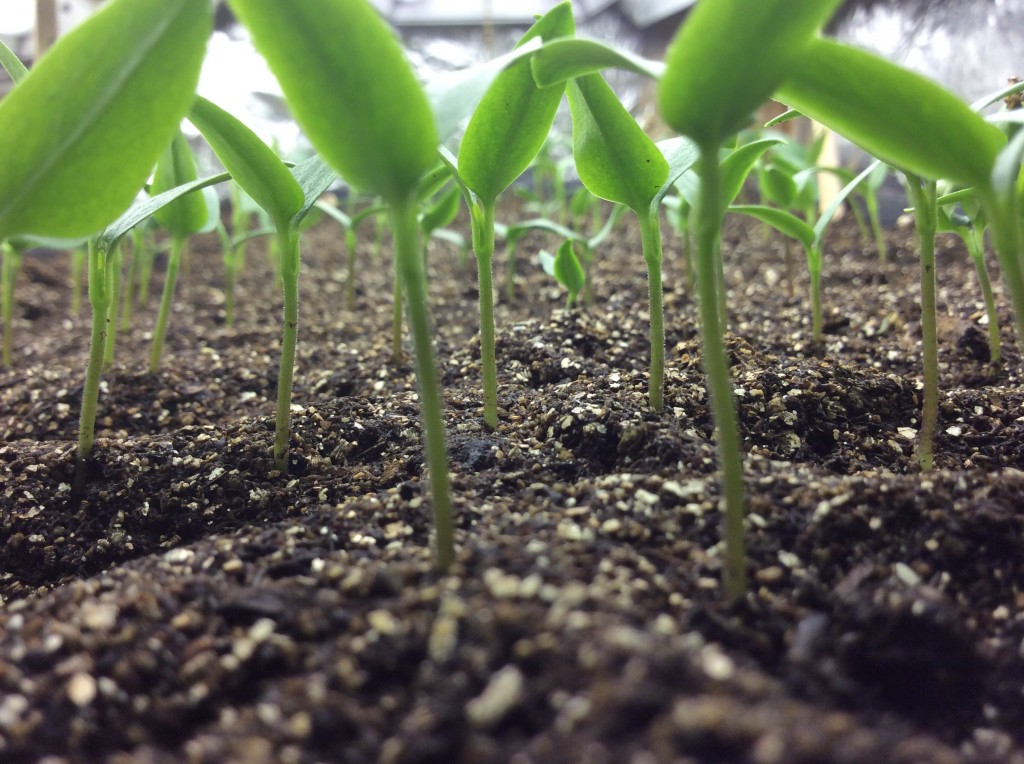
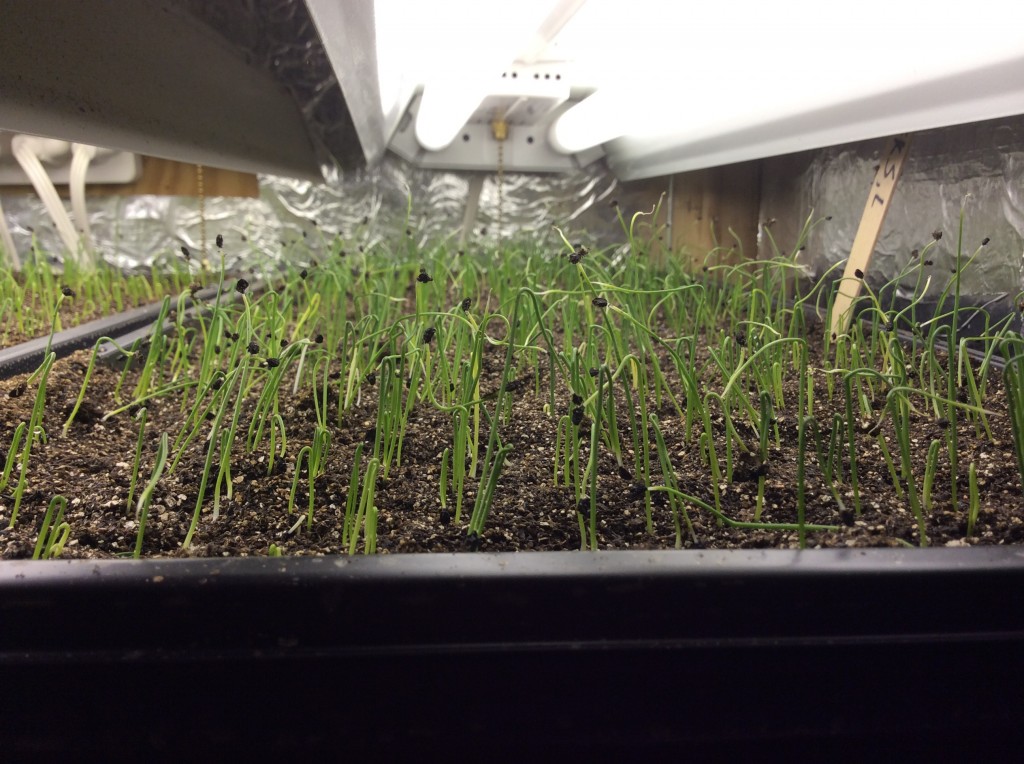
Here they are after a couple weeks under the lamps.

Bell Pepper Seedlings Organic CSA Kansas City

Leek Seedlings Organic CSA Blue Springs Tomato Seedlings CSA Organic Independence

Roasted Butternut Squash and Kale Orzo

Butternut squash is one of our favorite vegetables because it can be stored all winter! The squash that I used for this recipe was harvested from our CSA in September and is just as good now as it was then. Butternut squash have a slightly sweet flavor and can be prepared many, many different ways from sweet to savory. Roasted with olive oil and salt and pepper, as in this recipe, gives butternut squash a depth of flavor and makes them very savory! I could go on and on about my love for butternut squash, but I will spare you and get to the preparation.

Here’s the six-year-old farmer boy holding the squash I prepared (to give you an idea of the size).  You don’t need this big of squash, I only used about 2/3 of the roasted squash so a 2 to 3 pound “normal-sized” squash provides enough squash to go with the orzo.  
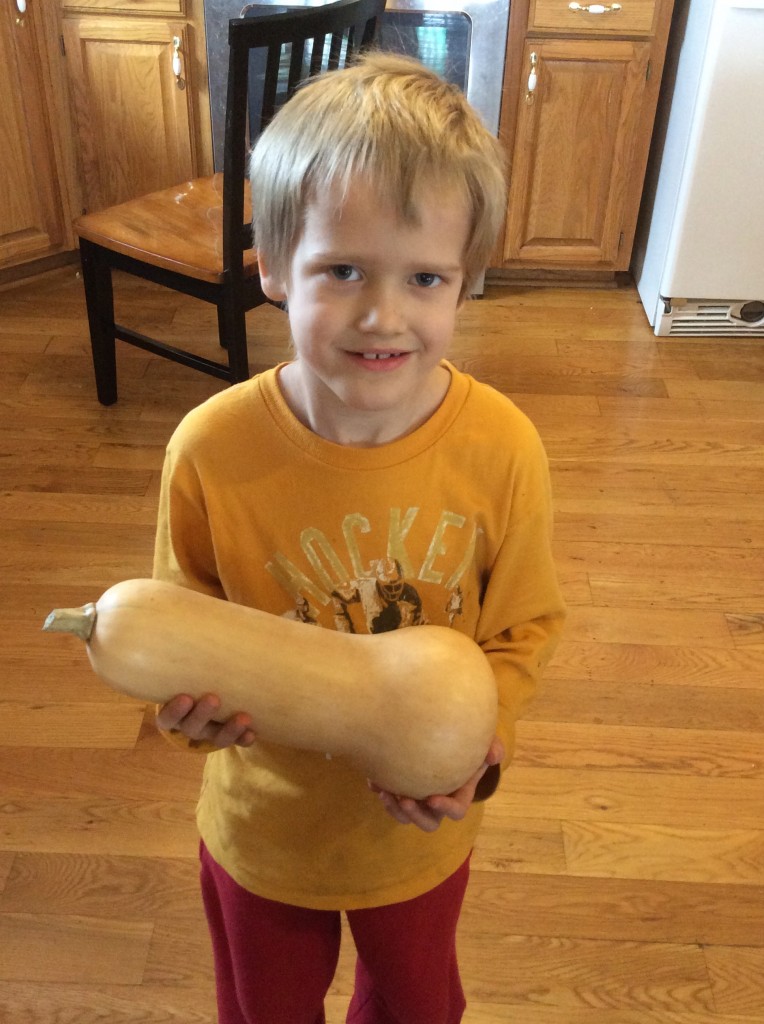
Elijah with Butternut Squash CSA Kansas City

If you have ever even touched a butternut squash, you know it is a TOUGH vegetable!  A good heavy knife is essential!  But, I will show you a trick that will make it a little easier to peel and cut butternut squash.  First, I put the WHOLE butternut squash on a large baking sheet (the one I will use later) and put it in the oven  at 400 F for about 10-15 minutes to soften it slightly and make it easier to peel and cut.  Look at the photo slider below to see the following steps illustrated.

I cut both ends off the butternut squash and peeled with a vegetable peeler.

Then my big cleaver made it easy to cut the butternut squash in half and scoop out the seeds from the bulbous end.

I then cut the butternut squash into strips and then into cubes of about 1/4 to 1/2 inch wide.  It is important that all the butternut squash cubes are about the same size so they will cook evenly.

I increased the oven temperature to 425F and roasted the squash pieces on a large baking sheet in single layer (this is important for getting the squash pieces to brown slightly) seasoned with olive oil, salt and pepper.  The olive oil should thoroughly coat the butternut squash but shouldn’t pool on the baking sheet. Stir or flip squash pieces once or twice during roasting. Roast until the squash is tender and slightly browned.


Oops...
Slider with alias Butternut not found.


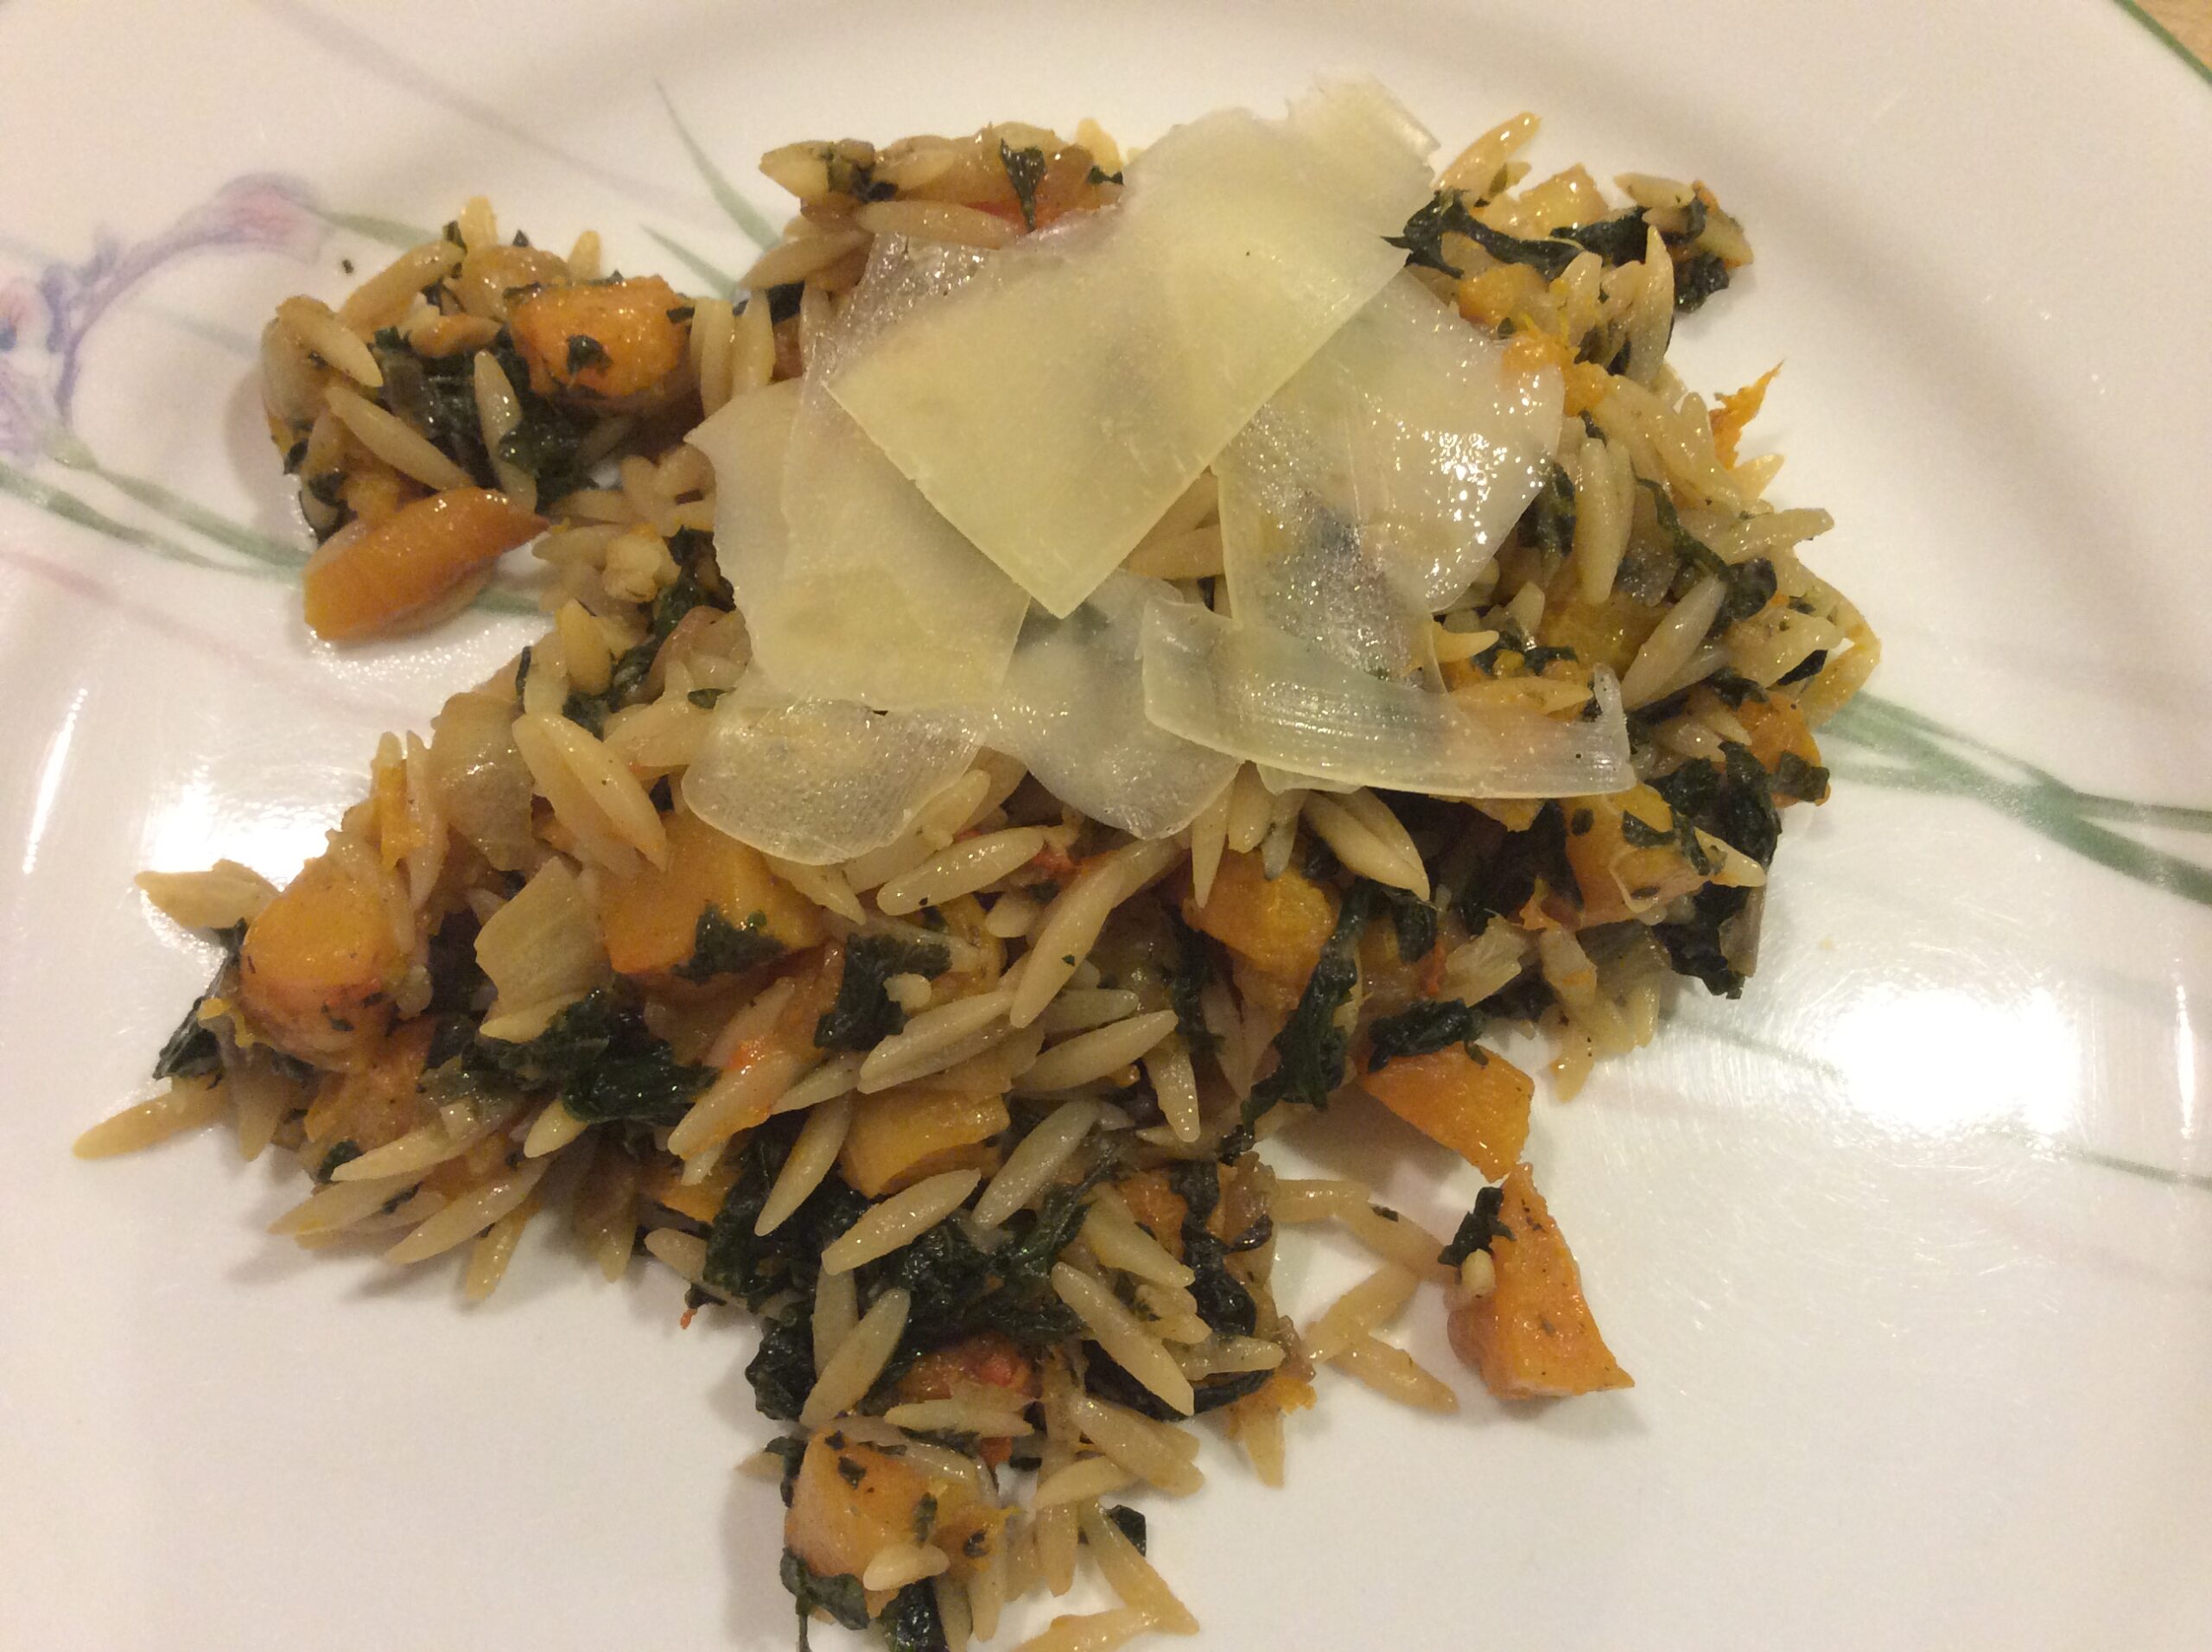
I roasted the butternut squash cubes for 20 or 25 minutes, but times can vary depending on the size of the squash pieces.   Here’s what the butternut squash looked like after roasting. The butternut squash pieces  should be browned on some of the edges or sides and shouldn’t be too wet.  You can turn the temperature up to 450F for a few minutes at the end to help brown the squash.  A little bit of browning adds to the flavor, but try to avoid burning it. Roasted butternut squash is a great side dish, in its own right, but this recipe below blended the flavors of the squash with kale and the nutty flavor of orzo to make a dish that delighted all members of the family.
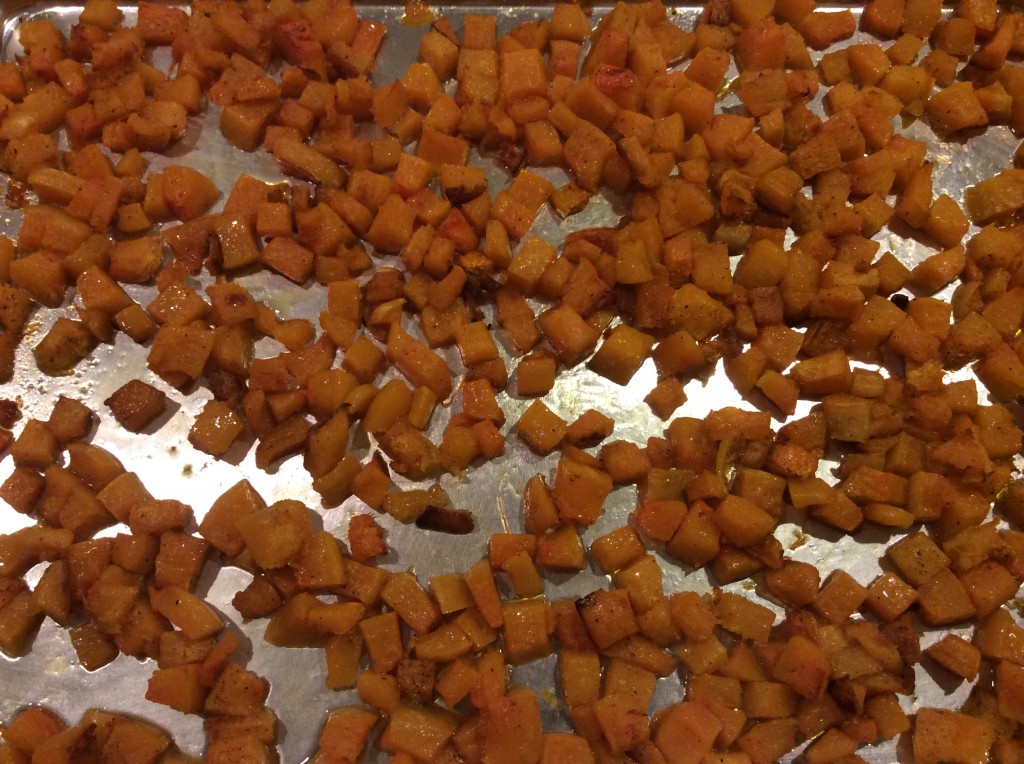
butternut squash roasting csa Kansas City

Here’s the rest of recipe following the preparation of the roasted butternut squash (which can be started while the squash is roasting).

Roasted Butternut Squash and Kale Orzo

2 to 3 pound butternut squash, cubed and roasted with olive oil and salt and pepper

Olive Oil

1 onion, chopped

4 to 6 cloves garlic, finely chopped

1 inch piece ginger, finely chopped, about 1T.

Kale, small bunch, stem removed, chopped (substitutions: Swiss Chard leaves, Spinach).  You can

1 to 2 T. Soy Sauce

1 T. Balsamic Vinegar

8 oz. (uncooked wt) Orzo pasta

Parmesan cheese shavings, optional

Optional add-ins:  8 oz. Mushrooms, sliced, can be added with the onions

Directions:

Heat  1-2 T. olive oil in a deep skillet over medium heat and add the onion, cooking and stirring occasionally until onion is soft.  Allowing the onion to caramelize, turn golden adds to the flavor.  Add the chopped garlic and ginger and cook and stir for 30 seconds longer.  Be careful not to burn the garlic, remove from the heat, if necessary.
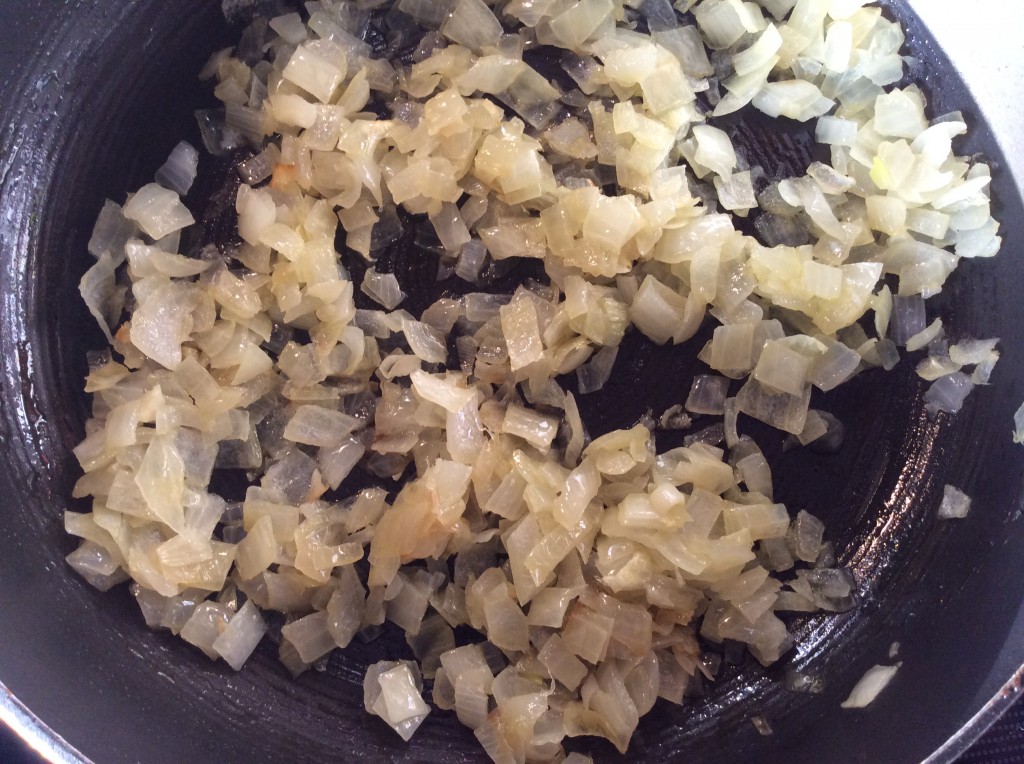
Caramelized Onions CSA Kansas City

Meanwhile, cook the orzo pasta in well salted water till just al dente, 6-7 minutes. Drain, then toss with olive oil to keep it from sticking

Next, add the chopped kale or other green to the skillet and the soy sauce and vinegar, stir to combine and cook until the kale is tender. For kale or chard it takes about 3-5 minutes, spinach wilts almost instantly.  I even used some greens that I had blanched and frozen in the fall.  I thawed the greens, finely chopped them and added to the onion mixture just like fresh greens.  Season with salt and pepper to taste.
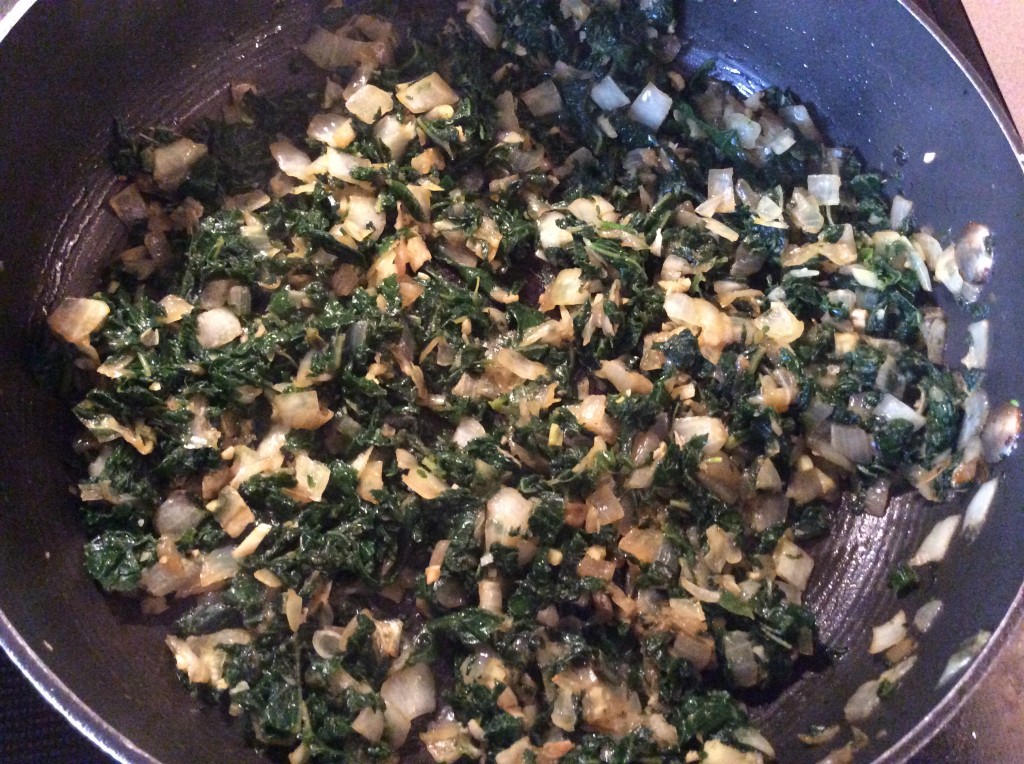
butternut squash kale csa Kansas City

I then added the cooked orzo and roasted butternut squash cubes to the skillet and cooked over medium to medium- high for a couple minutes, stirring constantly, scraping the bottom of the skillet to combine flavors and add a little color to the orzo.  Test for seasoning and add salt and pepper if necessary.
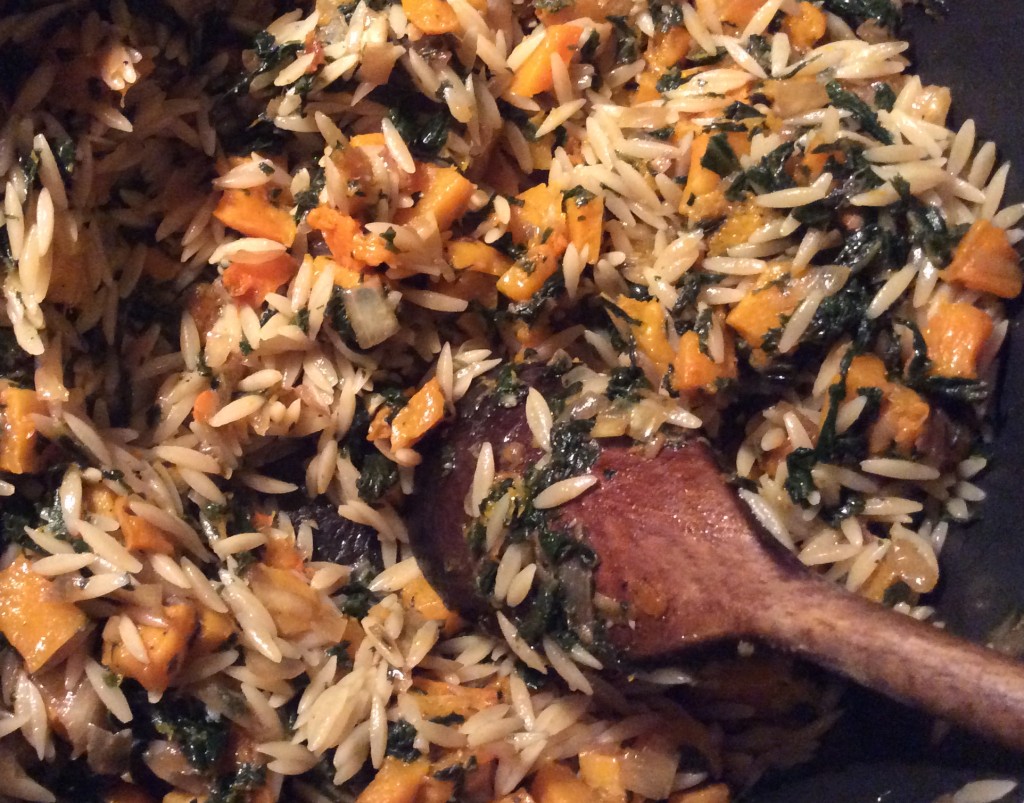
butternut squash csa Community Supported Agriculture Kansas City

To make the parmesan shavings, I used a vegetable peeler to shave very thin slices from a block of parmesan cheese.
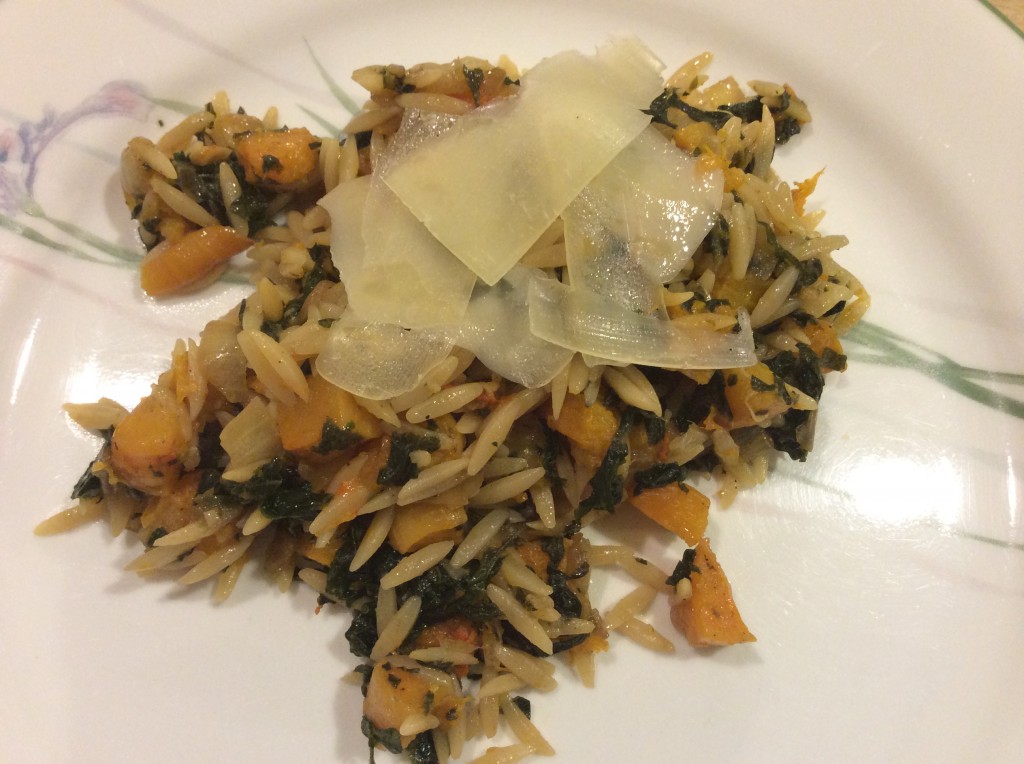
butternut squash orzo csa Kansas City


Stuffed Bell Peppers Recipe

Since we grow all these garden-fresh vegetables that you too can enjoy by joining our CSA, we don’t buy vegetables from the grocery store, but instead eat fresh or preserved foods from the farm.  One great way to preserve the bountiful harvest from your Where the Redfearn Grows Natural Farms  Community Supported Agriculture share is by freezing it.  We froze some of our bountiful peppers from last summer and even in February we can enjoy the fresh-from-the -garden flavors of our sweet peppers.  Here’s my favorite way to prepare stuffed peppers!  This is a gluten- free meal too!

Stuffed Bell Peppers

Ingredients:

Peppers for stuffing

Olive Oil

1 onion, chopped

3 or 4 cloves garlic, chopped

1 pound ( or less) ground sausage or other ground meat

1 can (15 oz) diced tomatoes, undrained or 2 cups of peeled, chopped fresh tomatoes

1 T Worcestershire sauce

1 t dried oregano (or 1 to 2 T fresh), or fresh basil

1/2  to 1 t dried rosemary (optional)

Salt and Pepper

2 cups cooked (brown) rice

1 cup sharp cheddar cheese, plus more for sprinkling on top

Optional additional mix-ins:  corn, black beans, ground cumin and chopped cilantro makes a Mexican variety

Preheat the oven to 350 F.

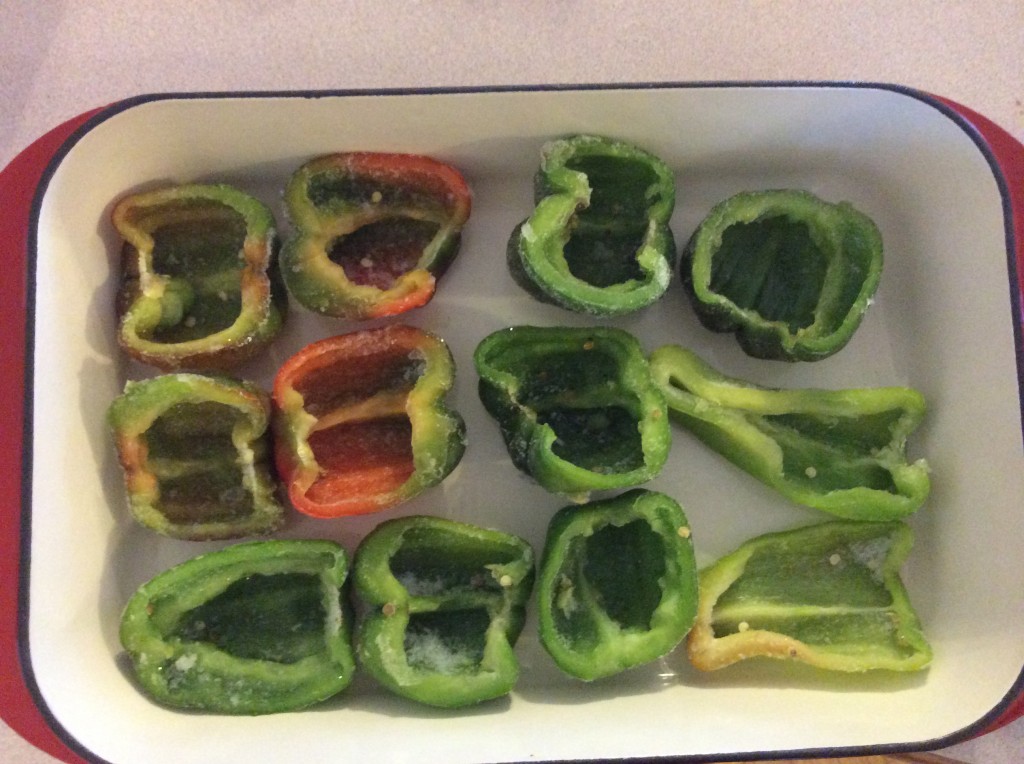
Here are the peppers after taking them out of the freezer.  Peppers that have been frozen don’t need to be boiled because freezing and thawing tenderizes the peppers.  I placed the frozen peppers in a baking dish and placed them in my 350 F oven for about 10 minutes to thaw.  I poured out the accumulated water from the bottom of each pepper after thawing and then sprinkled with salt and pepper.

Note:  If you are using fresh peppers you will need to cut the peppers in half vertically (alternatively, you can cut an opening in the top to pull out the stem and seeds and leave the pepper in one piece), scoop out the seeds and blanch in boiling water for about 3 minutes to tenderize the peppers.   Drain the peppers well and sprinkle salt and pepper in the inside cavity.

Sweet bell peppers for stuffing

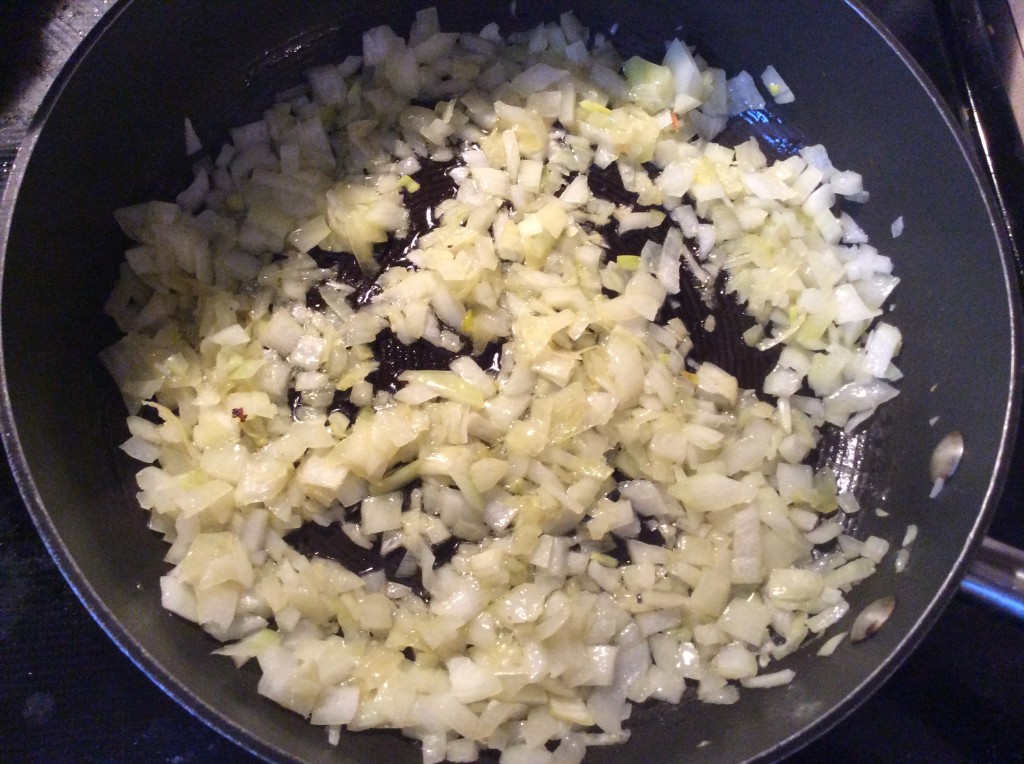
For the filling, I sautéed 1 chopped onion in a little olive oil and cooked until tender, then added the chopped garlic.

Sautéed Onions

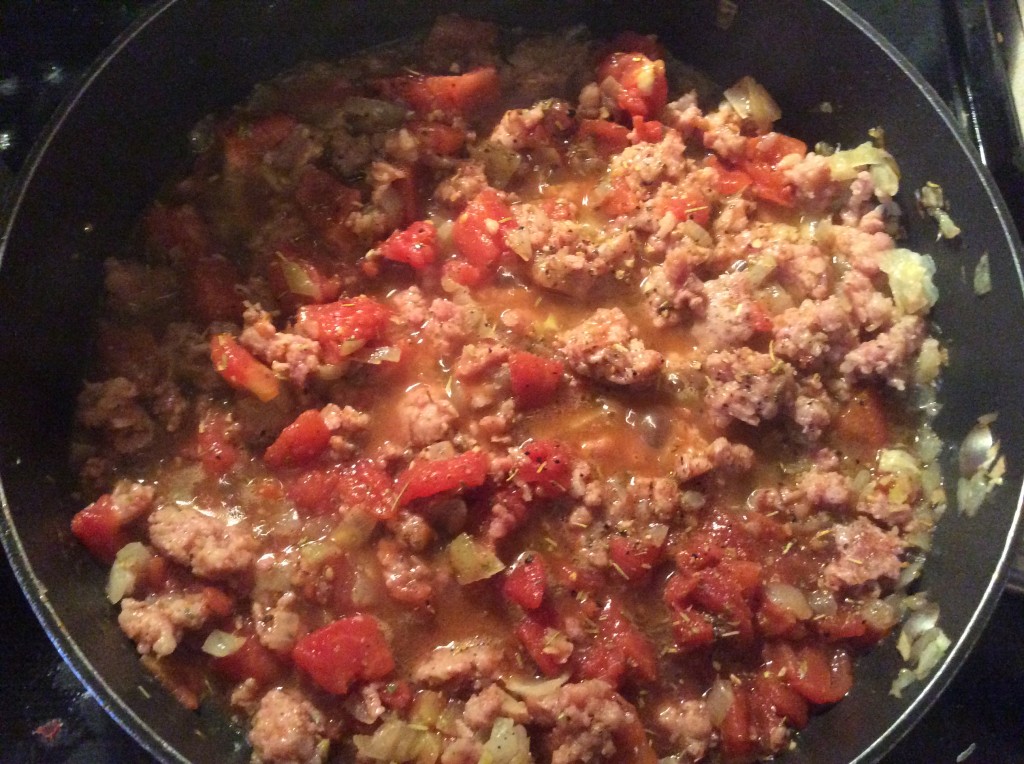
Then, I added the ground sausage, breaking it into pieces as you cook it.  I drained the fat from the pan (very important!), and then returned the meat mixture to the pan.  I added the can of diced tomatoes, worcestershire sauce, herbs and cooked for a couple minutes to evaporate some of the moisture.

IMG_0030

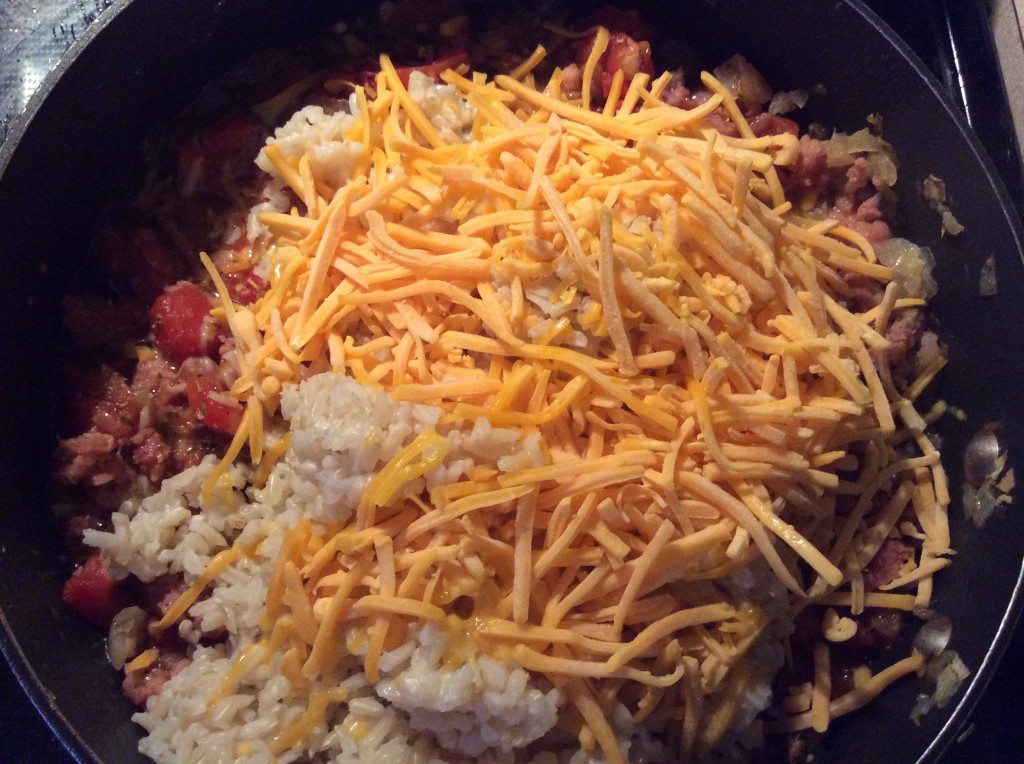
I then added the cooked rice and cheese, mixed to combine and seasoned with salt and pepper.  This is when you can add in other vegetables (such as corn, black beans, cilantro) to the mix.  IMG_0031

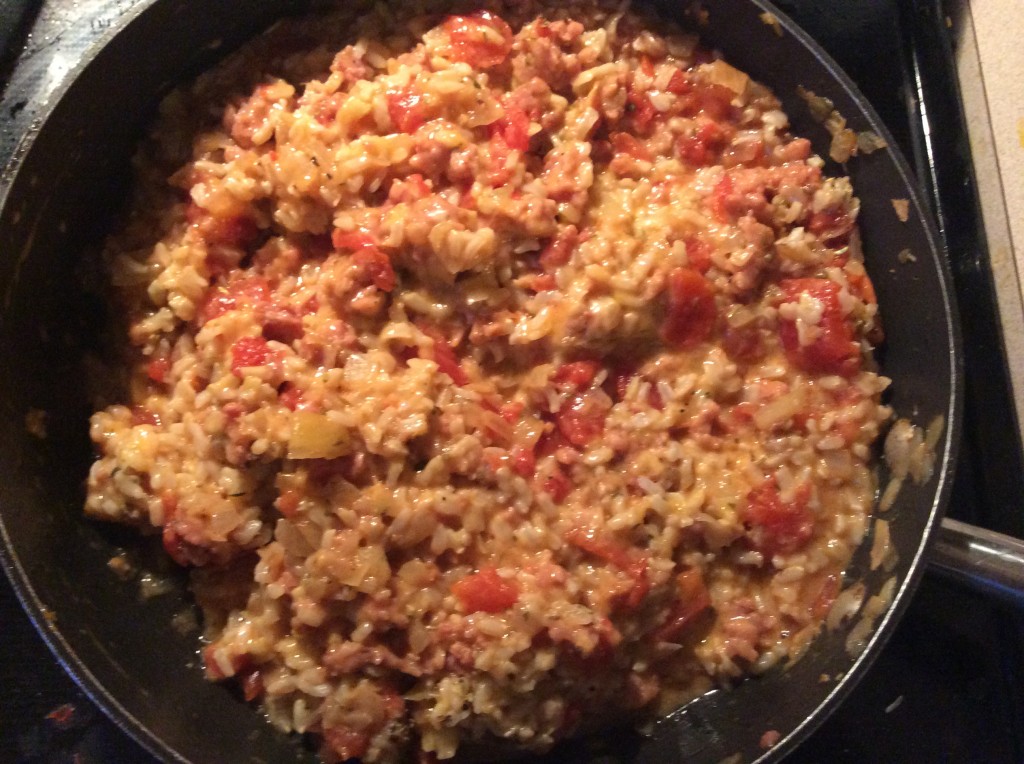
Mixed together it looks like this.  During the summer months I love to add lots of chopped fresh herbs for glorious color and flavor.  IMG_0032

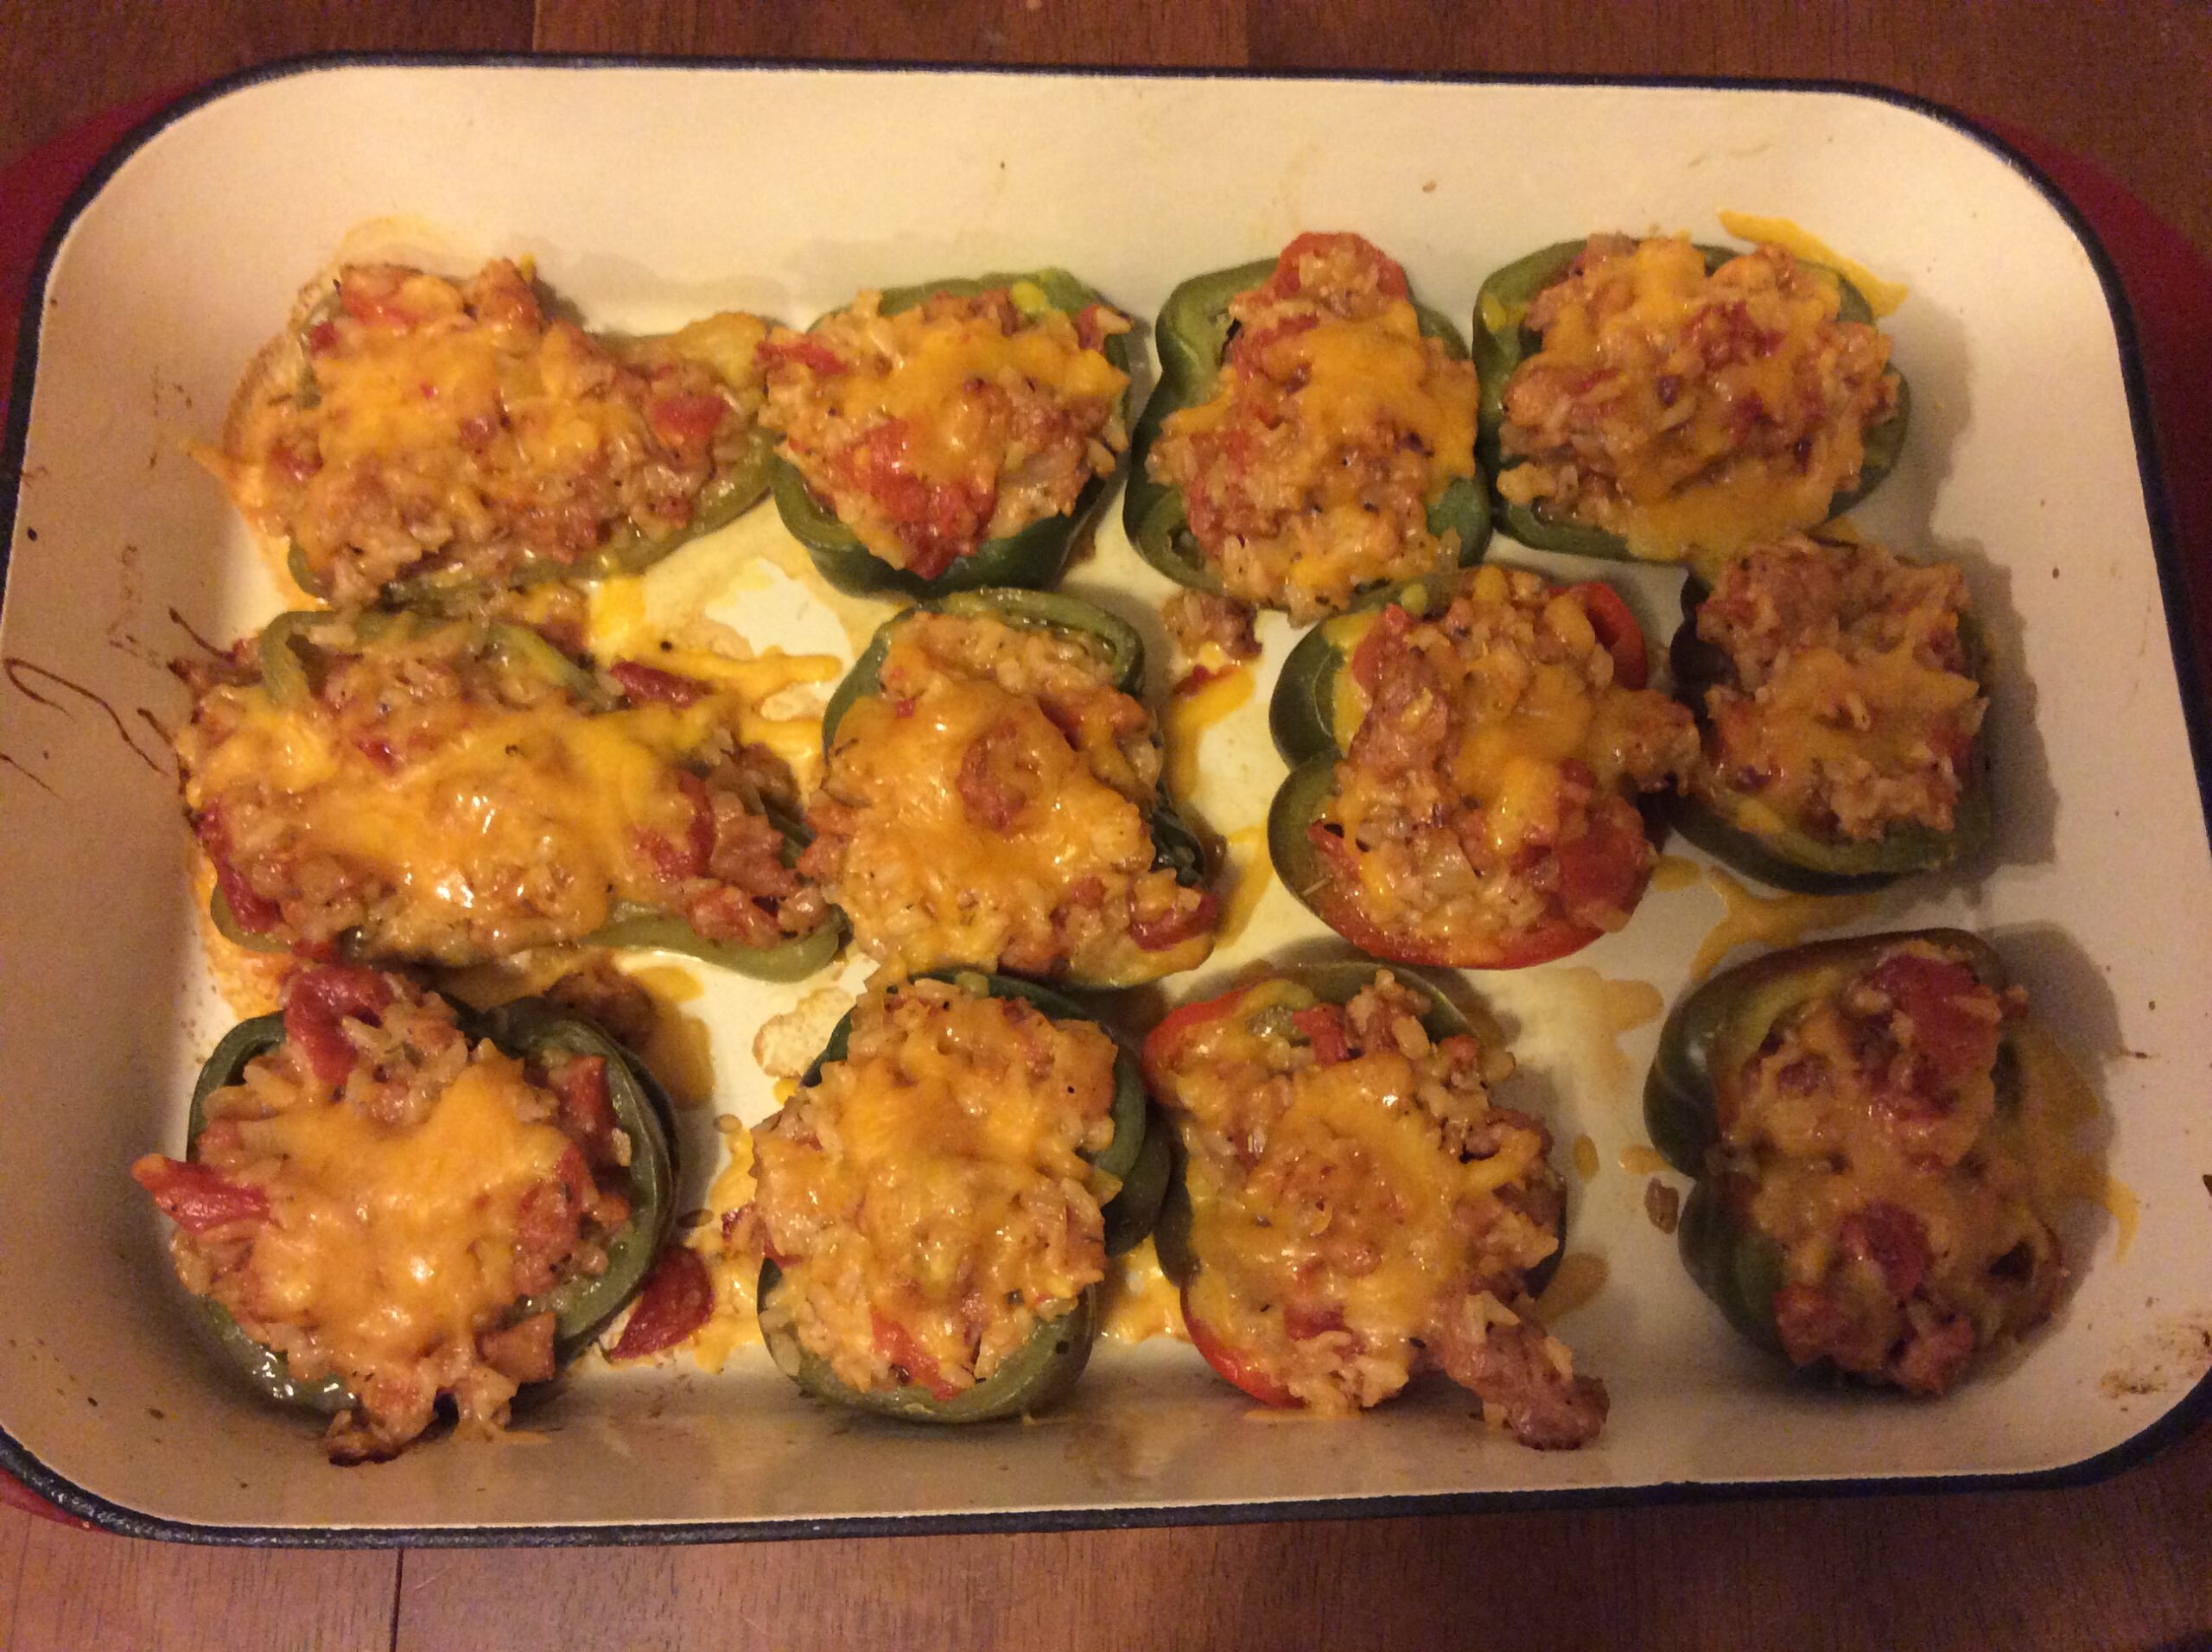
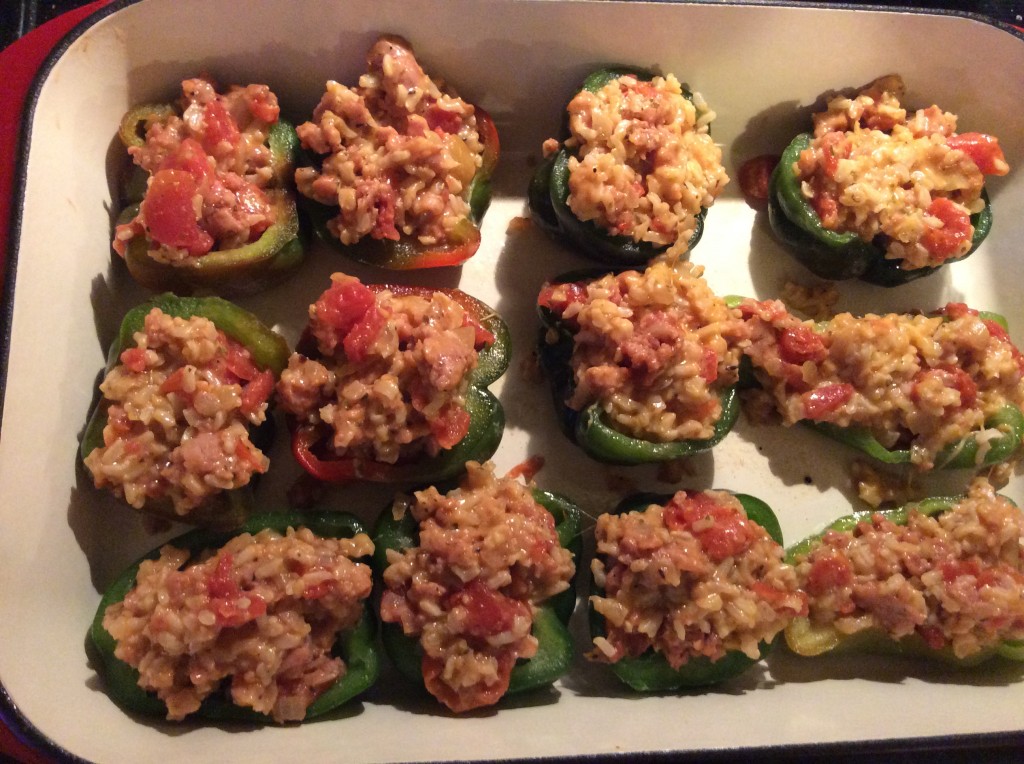
Fill the pepper shells with the rice/ meat filling and bake at 350F for about 15 to 20 minutes or until hot and bubbly.  If you have extra filling you can put it in a small baking dish and bake alongside the stuffed peppers.  IMG_0035

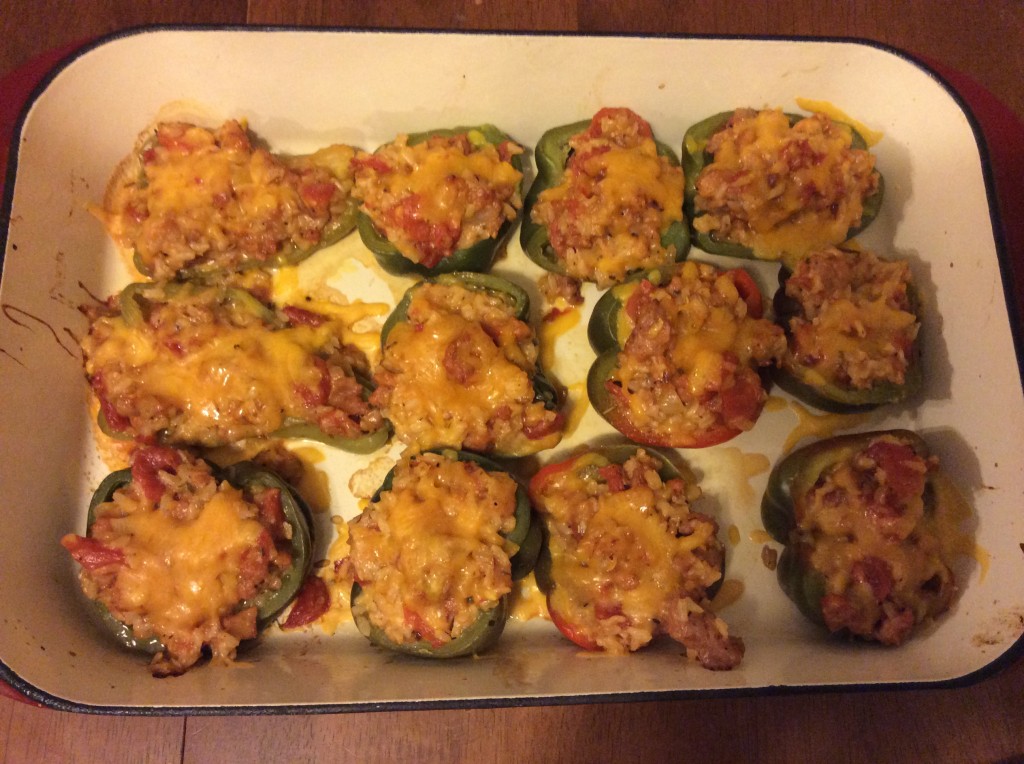
I sprinkled some additional shredded cheese for the last couple minutes of baking. IMG_0036

I hope you enjoy!

Check us out at https://redfearnfarm.com/

Free Range Chickens Must be Fed so Coffee Must Wait

22 degrees and snowing here in Independence, MO at Where the Redfearn Grows Natural Farms.  It’s a perfect afternoon to curl up with a warm cup of coffee and read a book, but farm work must come first.  We’ve got free range chickens, ducks, guinea hens, a goat and a couple dogs that need their afternoon feeding and watering.  So before I can enjoy that cup of coffee, I have to go check on those animals.  Thought you might want to see how they are doing too.

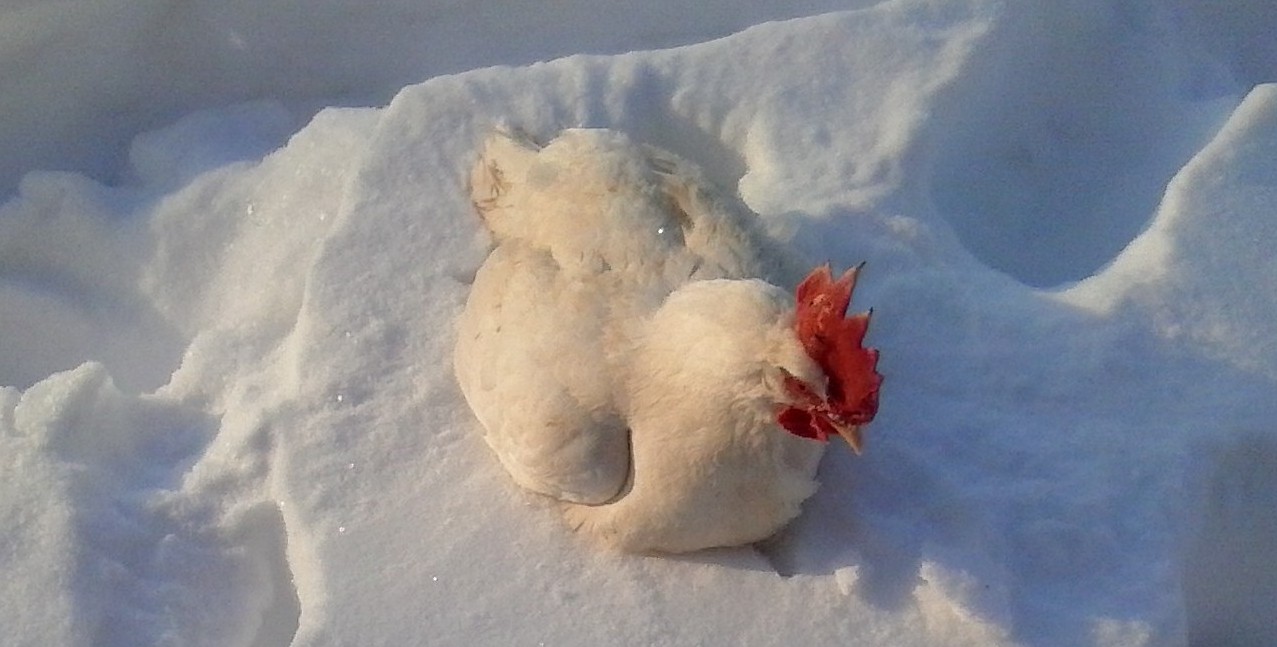
It’s been pretty cold lately (-10 degrees) in Kansas City and we had a foot of snow a couple days ago, so how are the animals doing?  Well most animals are hardier than you might expect if they’ve grown accustomed to the cold and have somewhere to take shelter from the wind and water.

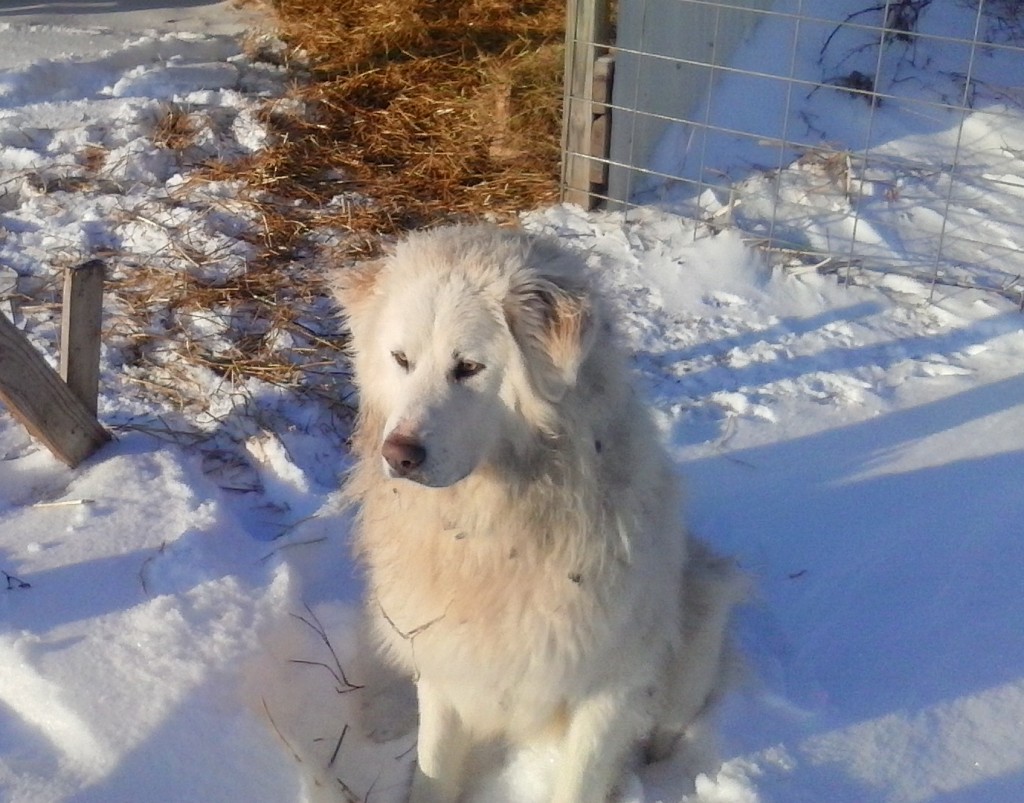
Boaz the Akbash livestock guardian dog who’s out protecting the goat, loves every minute of this winter wonderland.  His 4″ + long coat keeps him very well insulated.


boaz snow Livestock Gaurdian Dog Independence, Kansas City, Blue Springs, Organic Farm


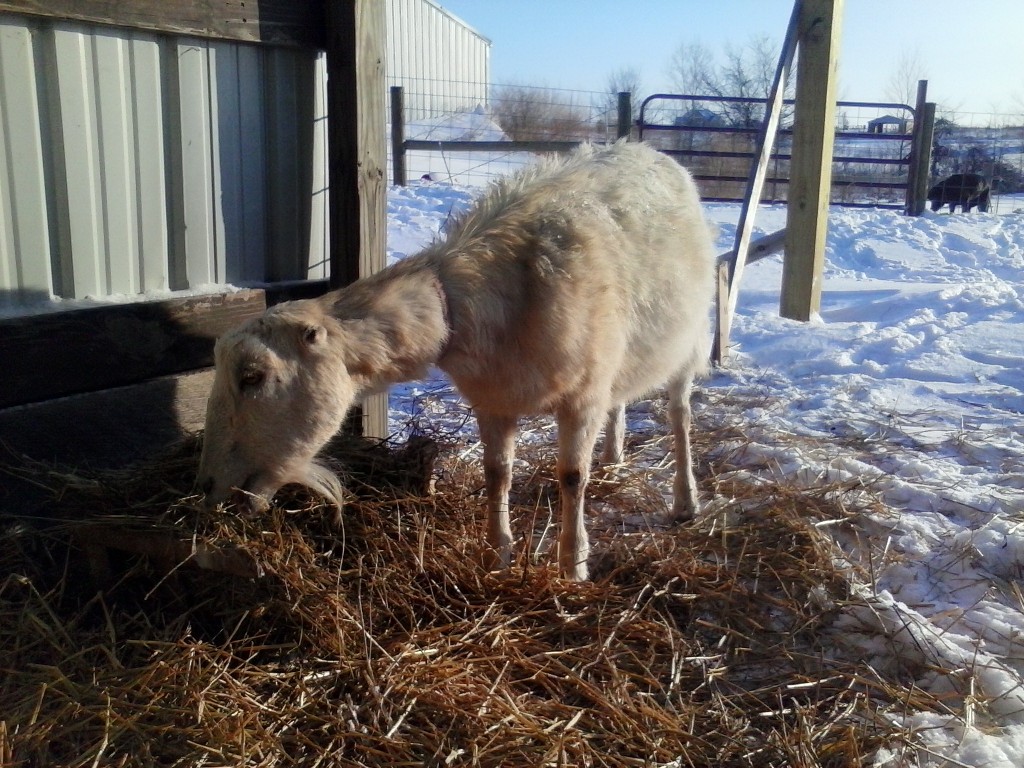
Caraway, the Lamancha milk goat doesn’t seem to mind when the two of them (goat and dog) cuddle up and sleep together on a thick layer of fresh straw.  Below Caraway is enjoying some fresh hay.  Saber the Black Lab in the background got to come inside a few nights.  He’d probably be ok in his warm doghouse, but we’re growing soft I suppose.  He did help himself to the cornbread on the counter the other night, so he’s certainly lacking inside dog manners.
 

goat hay Kansas City, Independence, Blue Springs Organic Farm


Before you accuse us of letting the ears freeze off our goat, the Lamancha breed is “earless” from birth.  They just have those little stubby ears.  Interestingly, since goats show dominance by head-butting and ear-biting (ask me how I know), Lamanchas have an unfair advantage, i.e. they can bite other goats ears without fear of retaliation, so Lamanchas end up being the bossy gals in the herd.  At this point, we don’t have much of a herd, but she should be carrying twin goats due in April.  We’d like to offer fresh goat milk and goat cheese someday, but we need to see how this goat milking thing goes this spring.
The ducks absolutely don’t care about the temperature.  You’ll find them outside of their house in driving winds and snows when the wind chill is far below zero.  Their thick plumage and insulating down along with the oils they apply makes them pretty impervious to wind and weather.  Even in subzero temps they’ll take a swim in their drinking water–before it freezes that is.  The extreme hardiness of ducks gives them great potential for small scale flocksters, as long as you can deal with the mess.  We find chickens to be much cleaner than ducks.

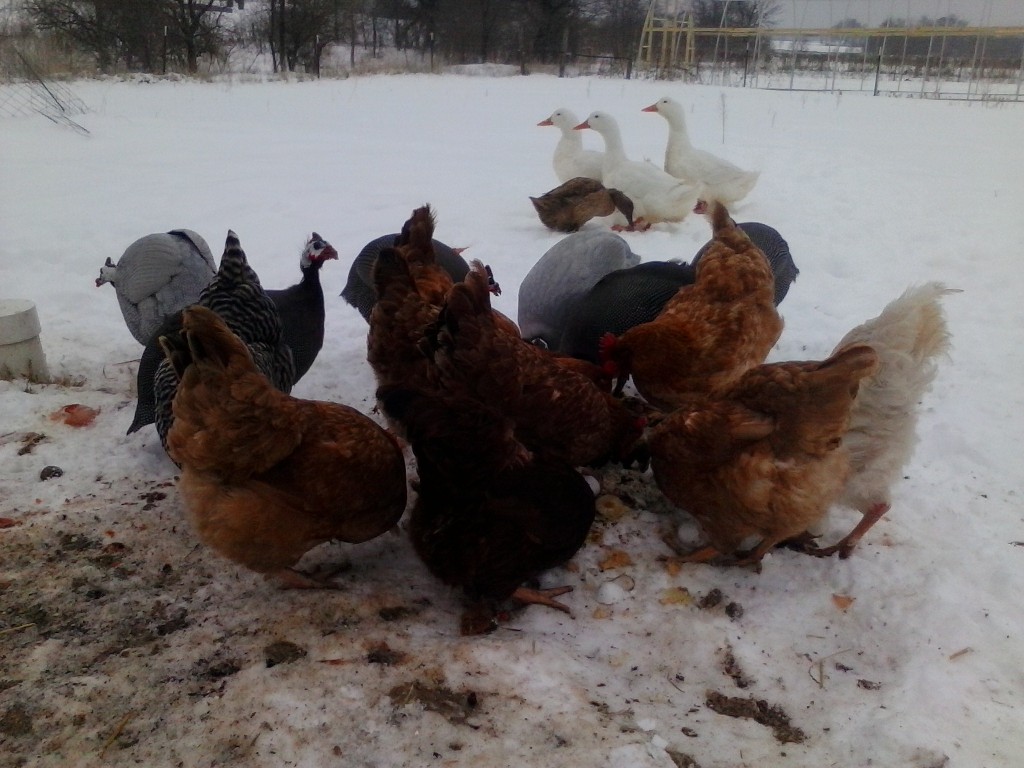
The chickens aren’t quite so keen on the bad elements and tend to stay inside on snowy days enjoying the warmth of the heat lamp.   They’ll come out running when our kitchen scraps are laid out for them, though.  Since we raise free range chickens for eggs, our chickens forage for most of their food throughout the growing season, but in winter under snow cover bugs and greens are scarce so theirs not much to find except the purchased chicken feed and our kitchen scraps.  Boy they LOVE leftover oatmeal!


free range chickens eating Kansas City, Independence, Blue Springs Organic Farm


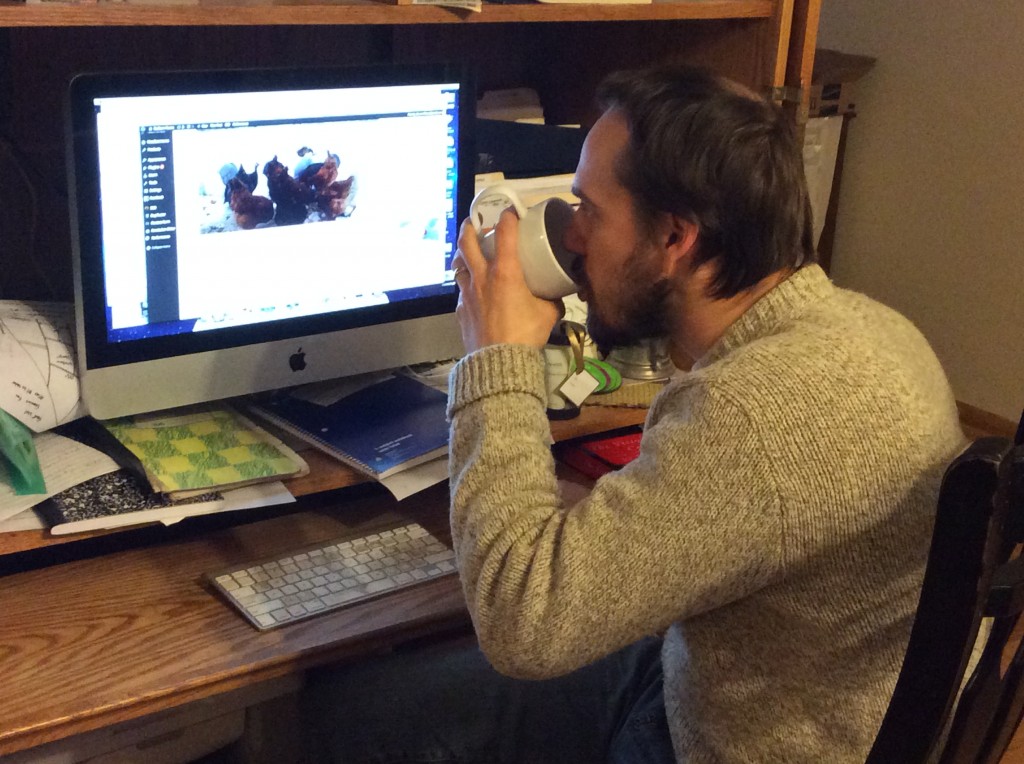
Well, all the animals are fed and doing fine, so I think it’s time for that warm cup of coffee!


Free Range Chickens on the screen while I drink coffee in Independence, Lee's Summit, Organic Eggs

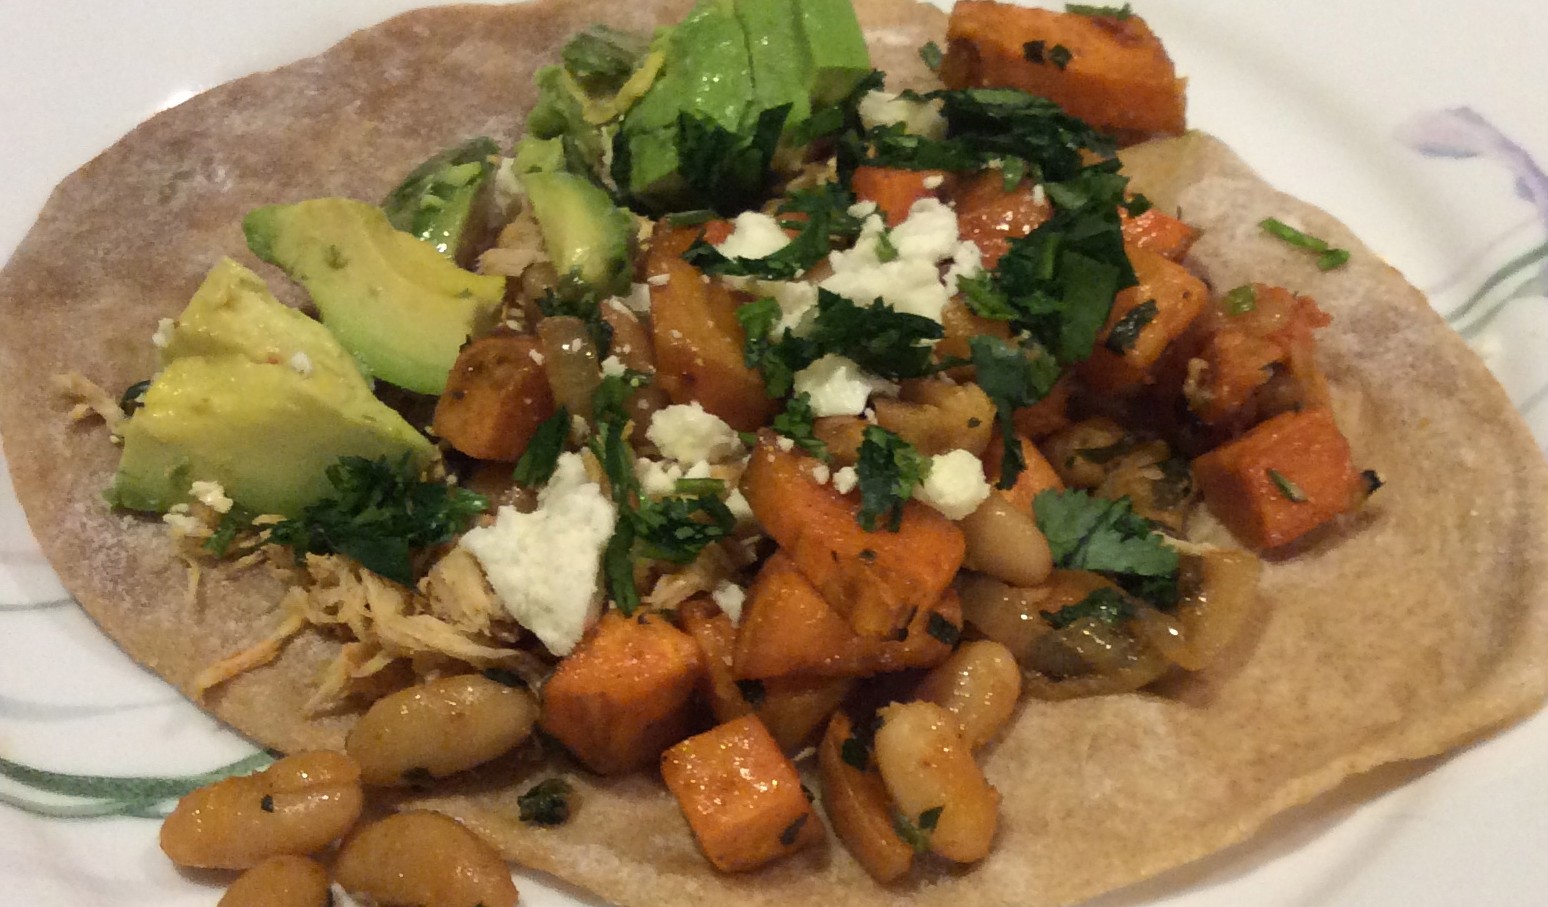
Roasted Sweet Potato Wraps

This afternoon, when I was contemplating what to make for dinner at the last minute, I thought of the remaining crates of sweet potatoes waiting in our basement and remember reading about sweet potato tacos somewhere.  It sounded good to me, but wasn’t sure if the farmer husband would like another one of my wacky taco variations.  And, I was out of tortillas, so I decided to make use of my bread dough to make flat (pita) bread.  If you don’t happen to have bread dough in your fridge, tortillas would work as a substitute.

At dinner, it did win the farmer’s approval!  And the approval of ALL the kids!

Anyway, on to the instructions.  This is a very, very adaptable “recipe”, so you can substitute with what you have on hand.

Sweet Potato Wraps

2 to 3 pounds Sweet Potatoes

3 to 4 Tablespoons Olive Oil

2 teaspoons ground cumin (or less, if wanted)

1 teaspoon paprika

dash of cayenne (optional)

Salt and Pepper to taste

2 Tablespoons Olive Oil

1 onion, sliced into rings (or half rings)

3 or 4 cloves garlic

1 can (or 2 cups), cooked and drained beans, I used white kidney beans, but black beans would also be great.

3 or 4 Tablespoons chopped cilantro

1 or 2 Tablespoons lemon or lime juice

Pita bread or tortillas

Toppings (optional):  Feta (or a mexican type) cheese, Sliced avocado, more cilantro, sour cream

Preheat oven to 400F.

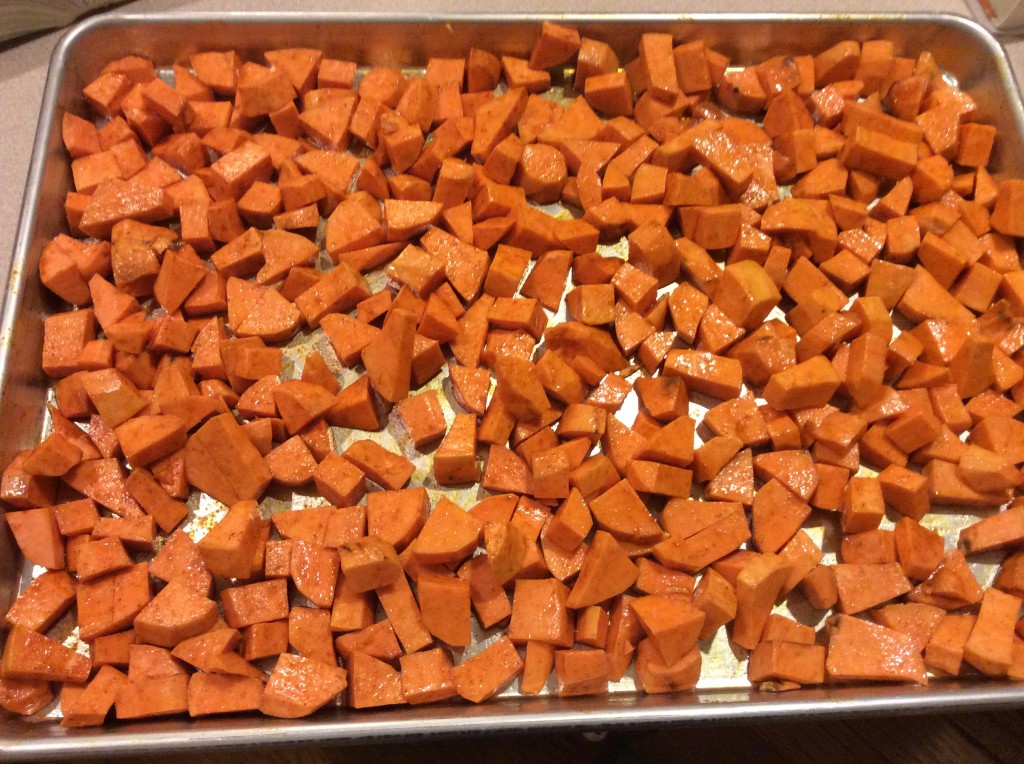
First, I peeled the sweet potatoes, washed, and cut them into uniform size, about 1/2 inch pieces, put them on a baking sheet (lined with foil or parchment paper for less mess) and then coated with the olive oil and spices and plenty of salt and pepper.  I like to use my hands to mix it all together to make sure all the sweet potato pieces are well coated.  Roast, turning once or twice until just tender, about 20 to 30 minutes.

Sweet Potatoes, ready to roast

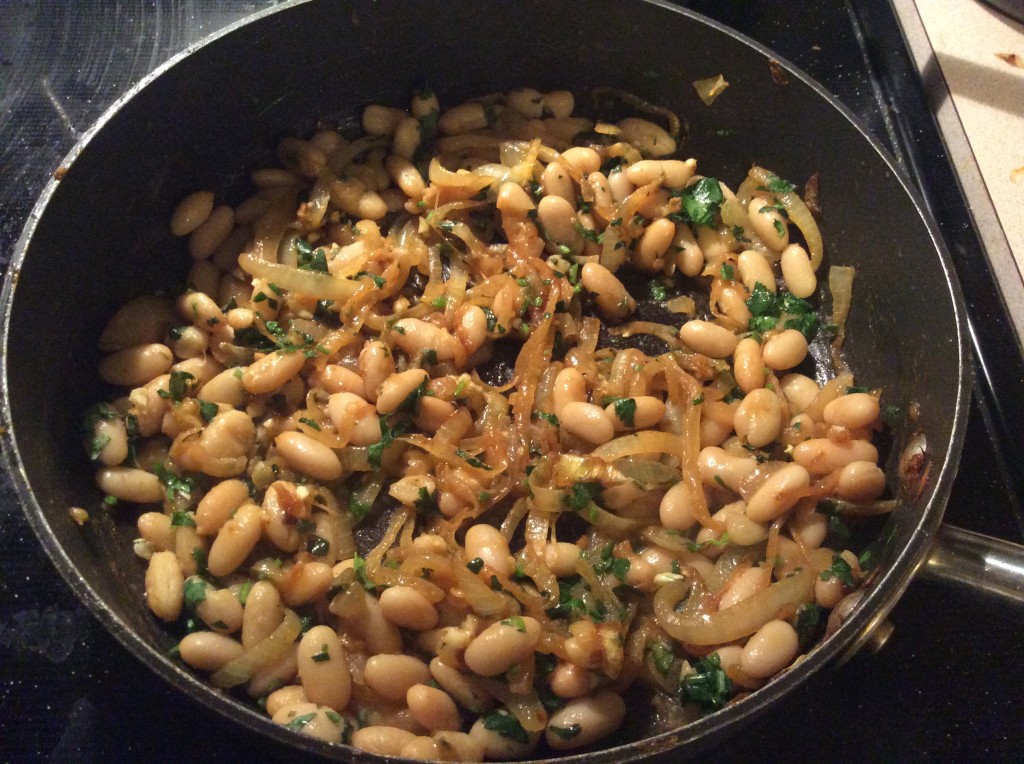
While the sweet potatoes were roasting, I sautéed the sliced onions in olive oil over medium heat, for as long as I had time, about 15 minutes until they were caramelized.  When the onions were nice and golden, I added the garlic and cooked for another 30 seconds (it is easy to burn garlic, so add at the end) and then mixed in the beans, chopped cilantro and lemon juice and salt and pepper to taste

Sweet Potato Wraps Carmelized Onions

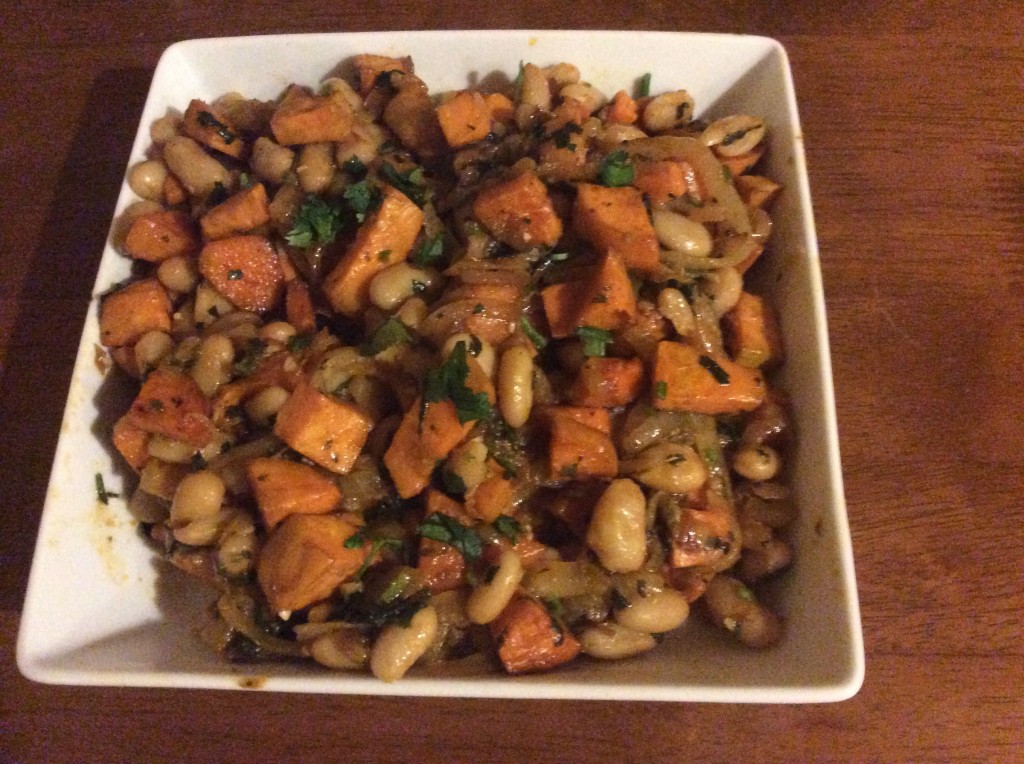
When the roasted sweet potatoes were tender, I mixed then into the onion mixture.  Here’s what the finished sweet potato filling looked like:

Sweet potatoes, beans, caramelized onions

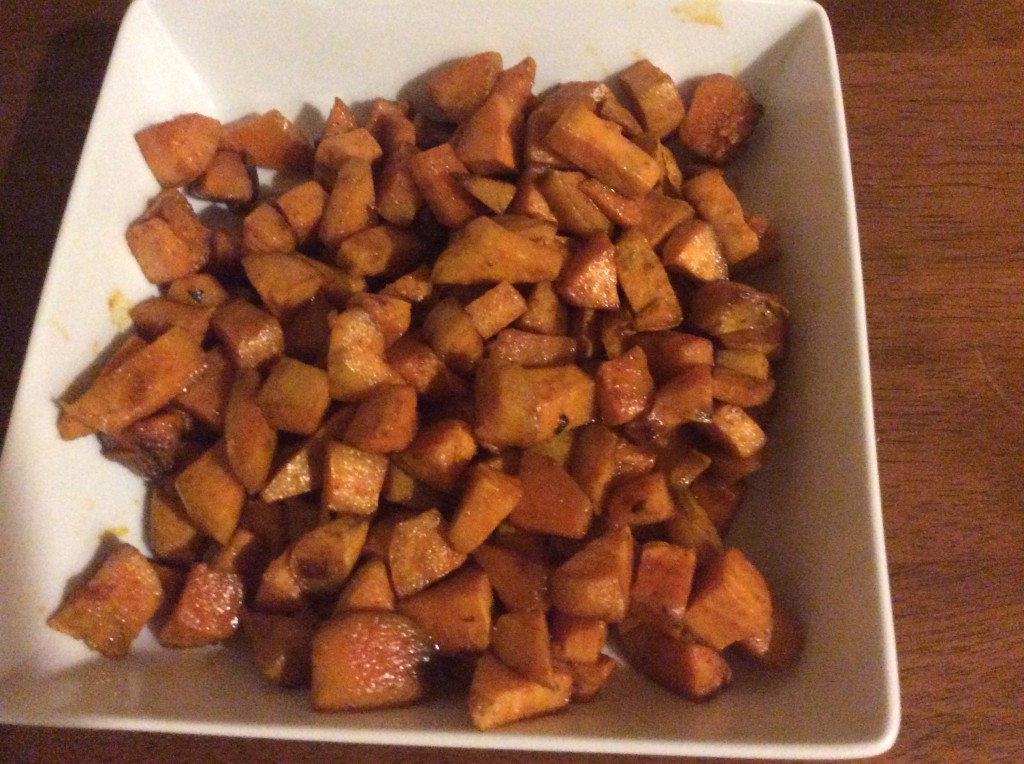
I left some of the roasted sweet separate for my sweet potato boy.  These roasted sweet potatoes are very savory and make a great side dish, even with out the other ingredients:

Roasted Savory Sweet Potatoes

Driveway Ice Meets a Fiery End in the Kansas City Area

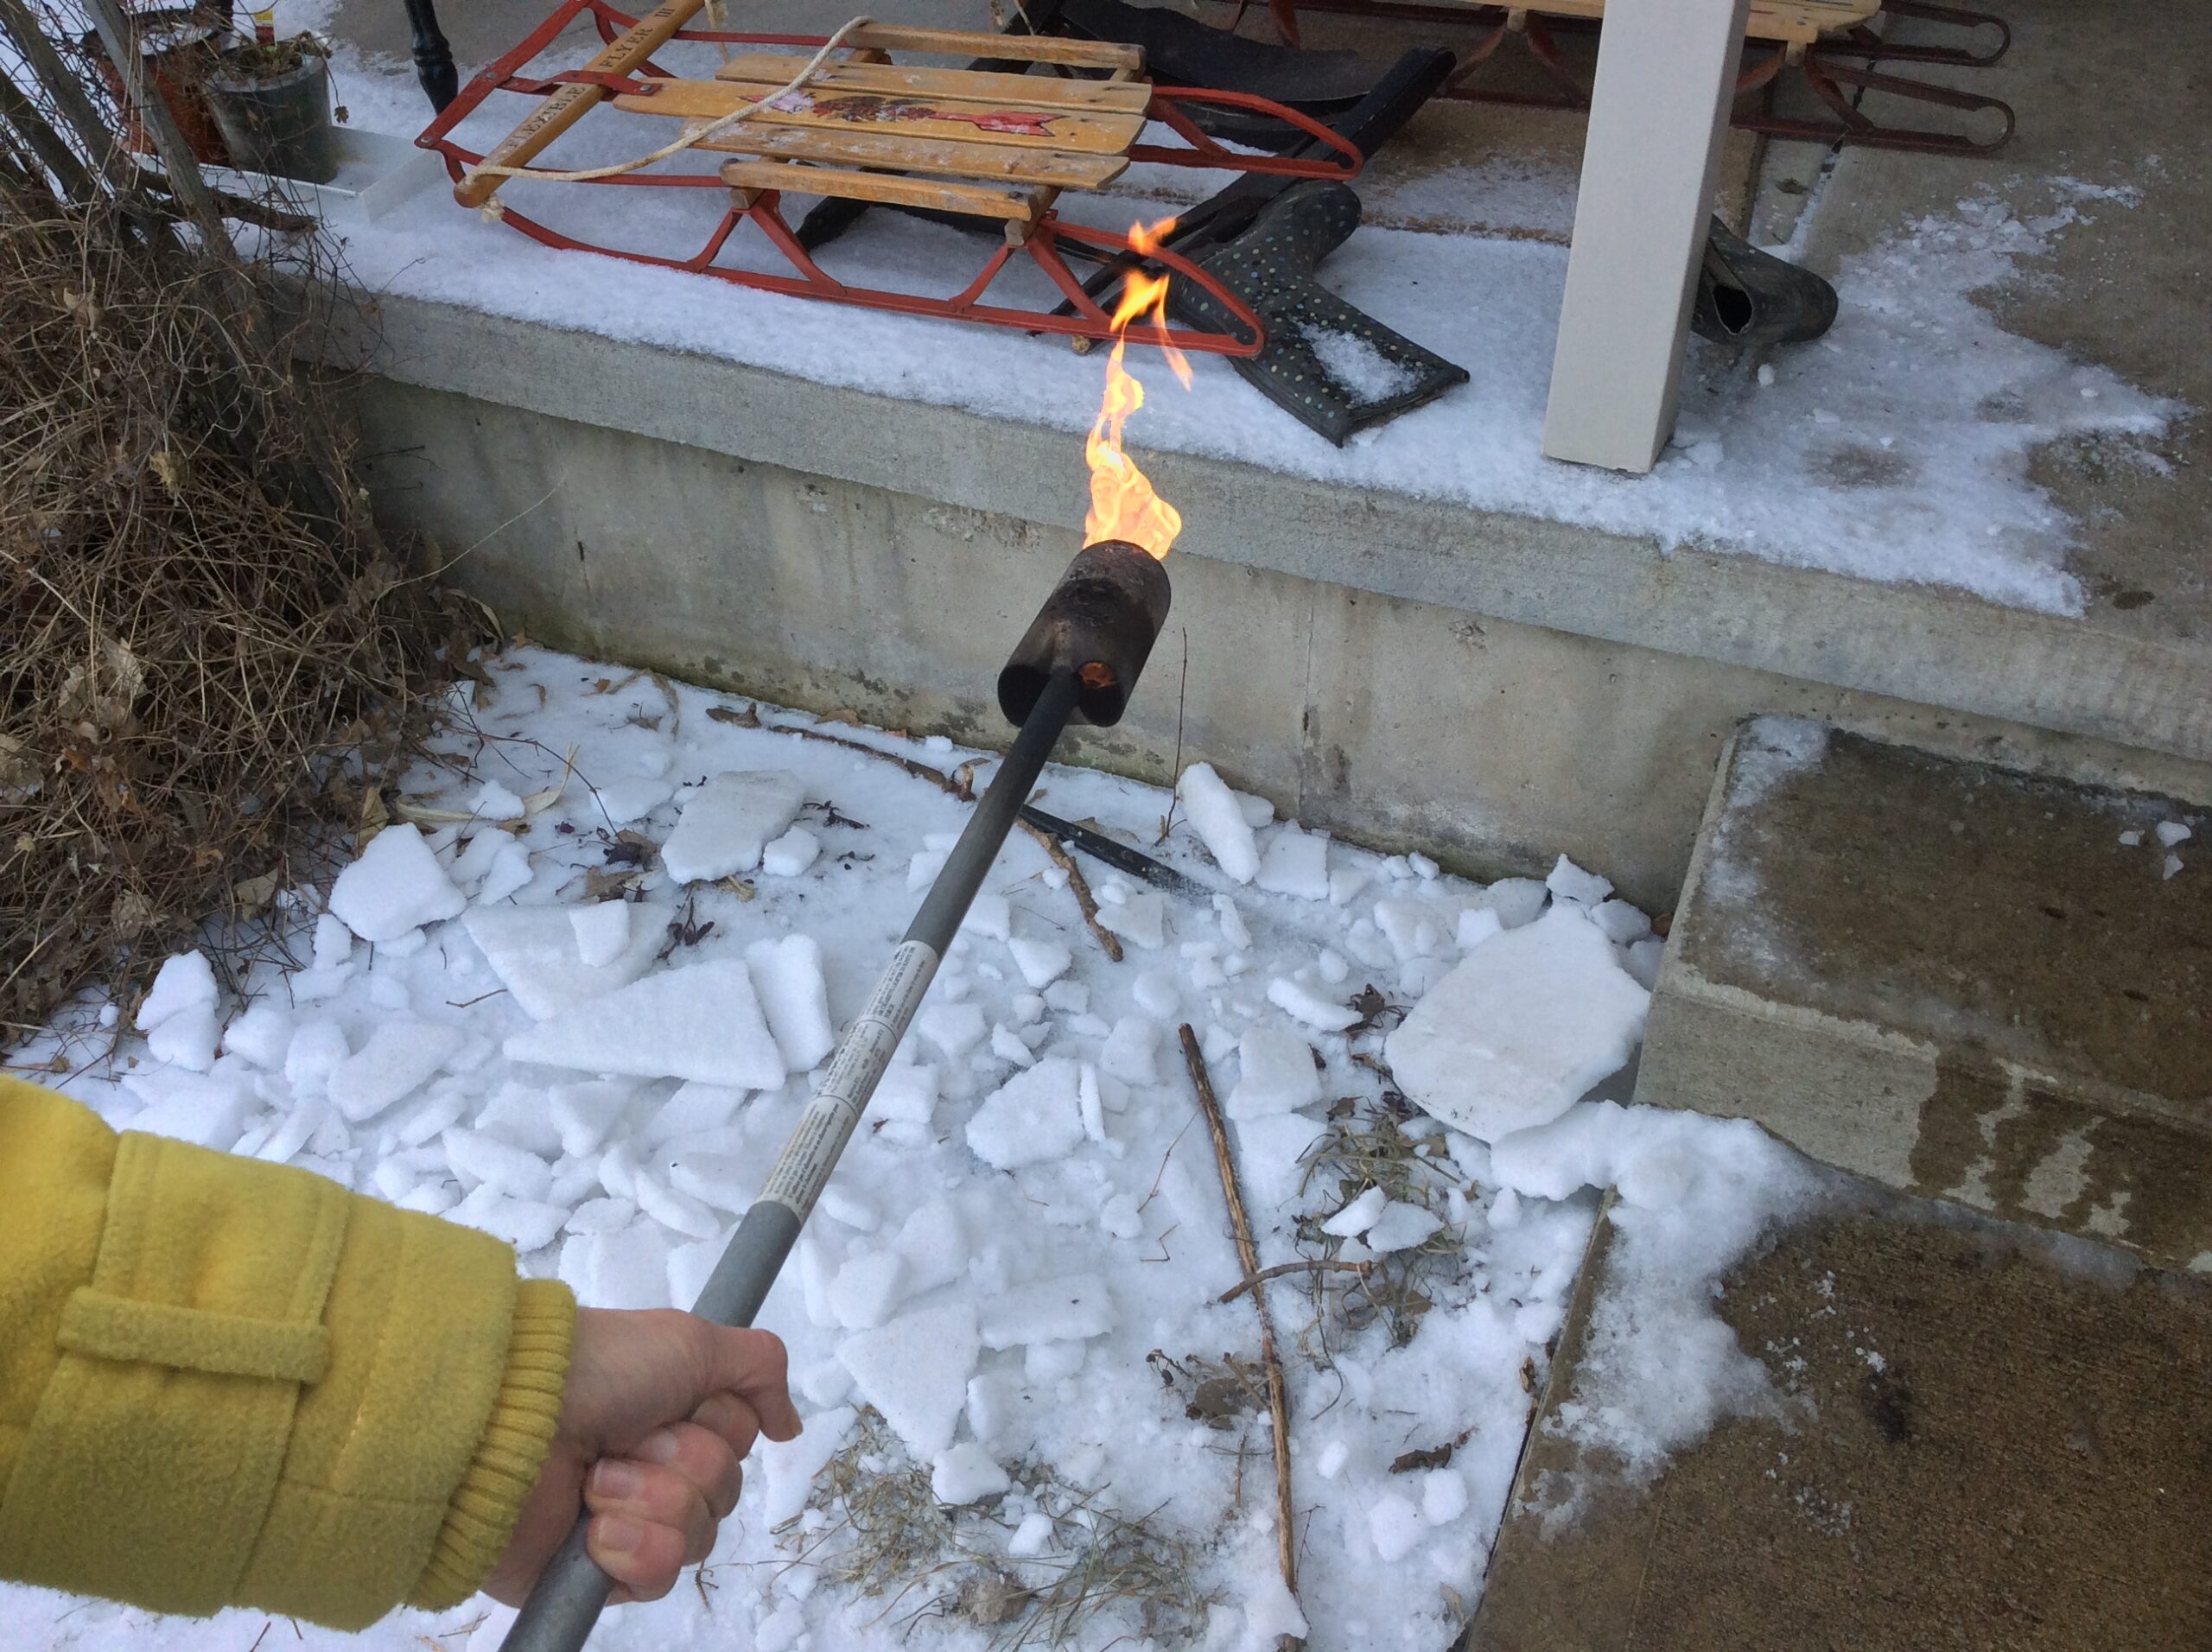
So what does a vegetable farmer do in the Kansas City area on snowy days in February?  Watch to find out: http://youtu.be/07Vynbwj2Fc

Got to get the ice off the driveway before the guests arrive, but it just won’t chip off with the shovel.  How about a 500,000 BTU/hr weed burner?  We use the Red Dragon Flame Weeder  during the spring to wipe out the baby weeds before planting in our vegetable beds, but what about finding a winter use for it?

Well, it may be a lot of fun, but I wouldn’t recommend going out to buy the weed burner if you only intend on taking fiery vengeance upon Old Man Winter.